
 By admin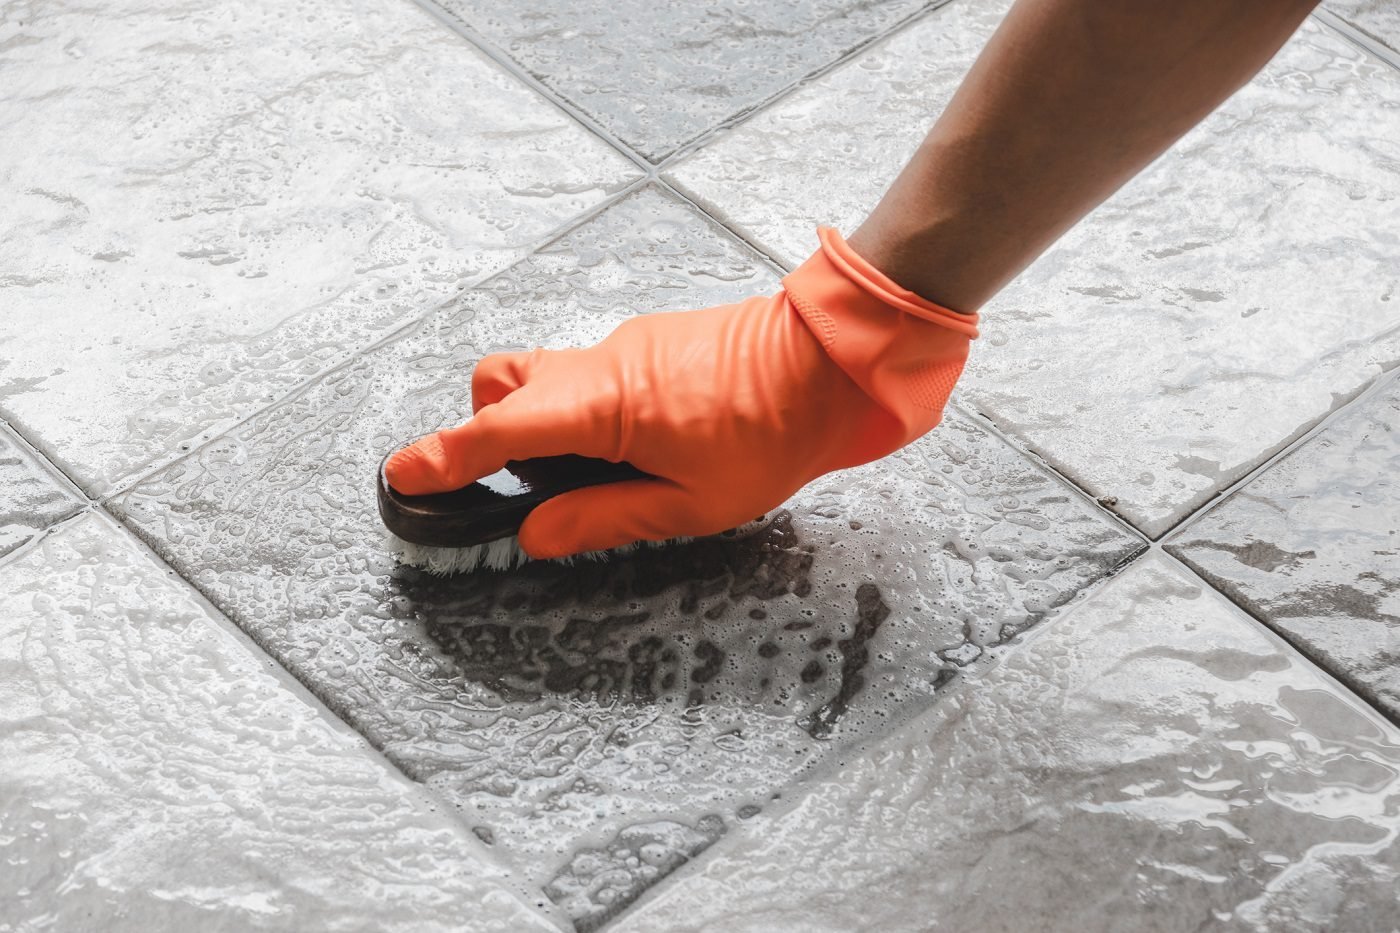
Grout starts out crisp and clean. Then life happens — shower steam, kitchen grease, muddy shoes — and a year later those lines are a depressing shade of brown-gray that makes the whole tile job look old. Dirty grout ages a room faster than almost anything else. The good news: the best way to clean grout between tiles isn’t expensive or complicated. It’s just about matching the method to how dirty things actually are.
Level 1: Routine Cleaning (Maintenance)
For grout that’s just dull, not stained:
- Hot water + stiff brush. Seriously — try this first. A grout brush or old toothbrush with hot water and elbow grease handles surface dirt. Most people skip straight to chemicals without trying the simple thing.
- pH-neutral tile cleaner for regular mopping. Avoid vinegar on natural stone tile (it etches marble, travertine, and limestone), but it’s fine on ceramic and porcelain.
Do this monthly and grout never reaches the “disaster” stage. Prevention beats restoration every time.
Level 2: The Baking Soda Paste (Moderate Grime)
This is the sweet spot for most dirty grout — effective, cheap, and safe:
- Mix baking soda with water into a thick paste (about 3:1).
- Apply to grout lines and let sit 10–15 minutes.
- Scrub with a stiff grout brush — the mechanical action matters more than the cleaner.
- For extra power, spray white vinegar over the paste before scrubbing (the fizzing helps lift grime). Rinse thoroughly.
- Mop up with clean water — residue left behind attracts new dirt.
Work in small sections (3×3 feet) so the paste doesn’t dry out before you scrub it. Dried paste is harder to remove than the original dirt.
Level 3: Hydrogen Peroxide (Stains and Mildew)
For grout with real staining or mildew — especially shower grout:
- Apply 3% hydrogen peroxide (the brown bottle from the pharmacy) directly to grout lines.
- Let sit 10 minutes, scrub, rinse.
- For stubborn spots, make a paste of hydrogen peroxide + baking soda — this is the DIY grout cleaner that actually rivals commercial products.
Hydrogen peroxide is a mild bleach — it whitens without the harshness of chlorine bleach and is safe for colored grout (test a hidden spot first, as always).
Level 4: Oxygen Bleach (The Heavy Artillery)
For grout that’s been neglected for years: oxygen bleach (sodium percarbonate — OxiClean is the well-known brand). Mix with hot water per package directions, apply to grout, let sit 15–30 minutes, scrub, rinse thoroughly. This is the most powerful safe option — dramatically effective on floor grout, which takes the worst beating.
Note: this is oxygen bleach, not chlorine bleach. They’re completely different. Oxygen bleach is color-safe and far gentler.
What About Steam Cleaners?
A steam cleaner with a grout attachment ($100–$200 for a decent one) is excellent for maintenance and moderate grime — the heat and pressure do the work chemically-free. It’s a good investment if you have a lot of tile. But for deeply stained grout, steam alone often isn’t enough; use it after a chemical treatment, not instead of one.
What NOT to Use
- Chlorine bleach: weakens grout over time, damages surrounding materials, and the fumes in a small bathroom are brutal. There are better options.
- Vinegar on natural stone: etches marble, travertine, and limestone permanently. Fine on ceramic/porcelain.
- Metal brushes or scouring pads: scratch tile glaze and erode grout.
- Too much water on unsealed grout: flooding unsealed grout repeatedly can weaken it. Damp-scrub, don’t soak.
The Step Everyone Skips: Seal It
Here’s the thing nobody tells you: clean grout gets dirty again fast unless you seal it. After a deep clean, apply a penetrating grout sealer ($15–$25, applicator bottle). It soaks in invisibly and makes future cleaning dramatically easier — dirt sits on top instead of soaking in. Reseal annually in showers, every 2–3 years on floors. This one step is the difference between grout that stays clean and grout you’re scrubbing again in six months.
Sealed, well-maintained grout also protects the tile job itself — which matters if you’ve invested in making a small bathroom look its best or refreshing the kitchen. And if grout is cracked or crumbling (not just dirty), that’s a repair job — see our guide to patching and repair basics for the DIY mindset, though grout repair deserves its own project day.
Grout Color Refresh: When Cleaning Isn’t Enough
Sometimes grout is clean but permanently discolored — years of staining that no cleaner removes. Before retiling, try these:
- Grout colorant (grout stain): products like Grout Renew paint a new color directly onto existing grout lines. It’s essentially grout paint with sealer built in. Clean thoroughly first, apply with a toothbrush or applicator bottle, wipe tile faces immediately. A $15 bottle covers a typical bathroom floor. Lasts years when applied to clean, dry grout.
- Go darker, not lighter: colorant covers best when going equal or darker. Trying to make dark grout white rarely works — the old color ghosts through.
- Regrouting: for grout that’s cracked or crumbling (not just discolored), a grout saw ($10) removes the top layer and fresh grout goes in. It’s tedious but transforms floors for $30 in materials.
- When to accept defeat: if grout is powdery, falling out in chunks, or mold returns within weeks of cleaning, the grout has failed — regrout or call a tile pro. No cleaner fixes structural failure.
Colorant is the secret weapon of rental refreshes and budget bathroom updates — it makes 20-year-old tile look new for the price of a pizza.
Grout Maintenance Calendar
Keep grout clean permanently with this schedule: weekly — damp mop tile floors (no harsh cleaners needed); monthly — scrub shower grout with baking soda paste (5 minutes while you’re in there anyway); quarterly — inspect caulk lines and touch up as needed; annually — deep clean + reseal shower grout; every 2–3 years — reseal floor grout. Total annual time investment: about 3 hours. Total value: grout that looks new for a decade instead of grimy in two years.
For grout selection and maintenance standards straight from the industry, the Tile Council of North America publishes the reference handbook tile pros actually use.
The Bottom Line
The best way to clean grout between tiles: start simple (hot water + brush), escalate to baking soda paste for moderate grime, hydrogen peroxide for stains and mildew, and oxygen bleach for the truly neglected stuff. Scrub in small sections, rinse thoroughly — and then seal it, because clean unsealed grout is just future dirty grout. An afternoon of work makes tile look new again, which is about the best ROI in home maintenance.