
 By admin
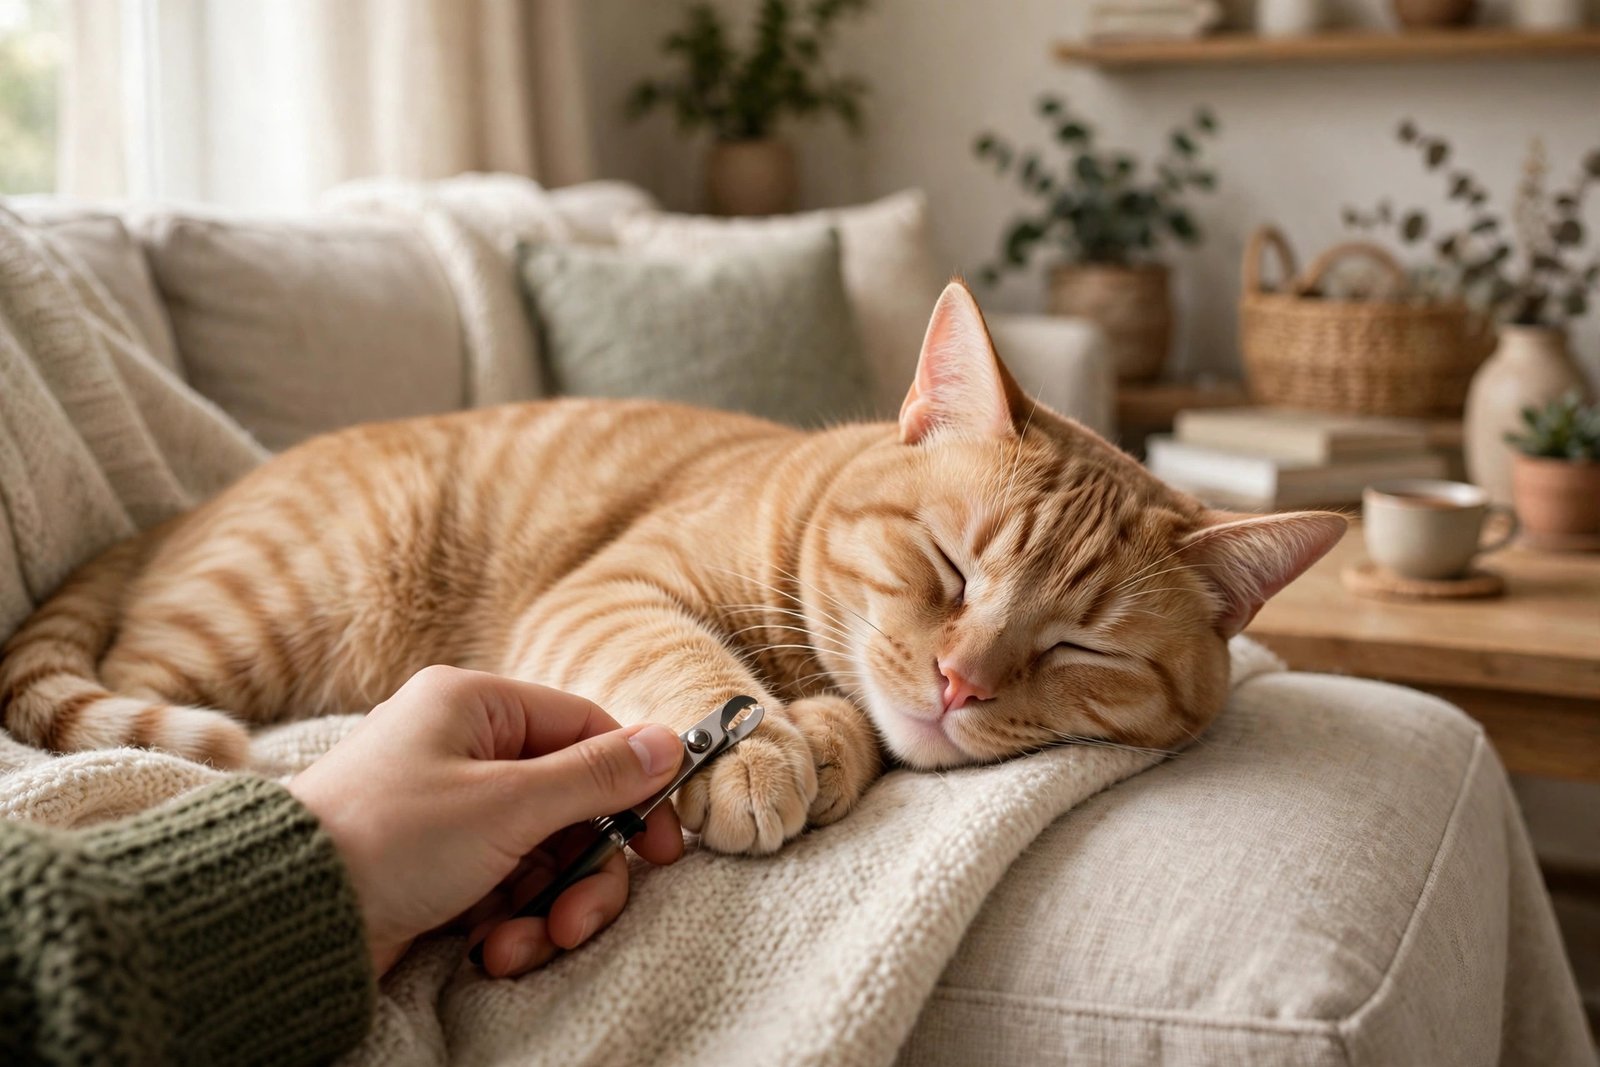
Trimming your cat’s nails shouldn’t require protective gear, yet for many owners it’s a wrestling match that ends with scratches, a terrified cat, and nails still untrimmed. The problem usually isn’t the cat — it’s the approach. Cats resist nail trims because the experience is rushed, restrained, and scary. Change the experience, and most cats go from fighters to tolerators (and some even to willing participants).
This guide covers the gradual desensitization method that actually works, the right tools and technique, how to avoid the quick (the painful part), and what to do when things go wrong.
Why Cats Fight Nail Trims (and Why Force Fails)
Put yourself in the cat’s paws: you’re grabbed, flipped, held down, and something sharp approaches your feet — the most sensitive, vulnerable part of your body. Of course they fight. Force-based trims (the “burrito wrap and power through”) might get the job done once, but each session teaches the cat that nail trims are terrifying, making the next session worse. It’s a deteriorating cycle.
The alternative is cooperative care: training the cat to accept — even enjoy — each step of the process through positive associations. This takes days to weeks, not minutes, but the result is a cat you can trim calmly for life. Veterinary behaviorists widely endorse this approach; the ASPCA’s cat care guides emphasize low-stress handling as the foundation of all grooming. Patience now buys you a decade of easy trims.
Tools: Keep It Simple and Sharp
You need exactly two things: sharp, cat-sized nail clippers (scissor-style or guillotine-style — either works; replace them when they dull, because dull clippers crush instead of cutting, which hurts) and styptic powder (like Kwik Stop) in case you nick the quick. Dull tools are a leading cause of trim resistance — if your clippers are old, the cat remembers the pain.
Skip the fancy extras for now. Nail grinders (Dremels) work for some cats but the noise and vibration scare many; introduce them only after basic clipper acceptance. Have high-value treats ready — whatever your cat goes crazy for (freeze-dried chicken, lickable treats). The treats aren’t a bribe; they’re the paycheck that builds the positive association. Set up in a calm, familiar spot — not the bathroom where the scary bath happens. A peaceful home helps everything; keeping your house clean with pets starts with low-stress routines like this one.
The Desensitization Plan: Days, Not Minutes
Days 1–3: Paw handling. While your cat is relaxed (sleepy is ideal), gently touch and hold a paw for two seconds, then treat. Repeat a few times, then stop. Goal: paw-touch predicts treats. Days 4–6: Toe beans. Gently press a toe to extend the nail, treat, release. Never hold longer than the cat tolerates — quit while you’re ahead, always. Days 7–9: Tool introduction. Let the cat sniff the clippers, touch a closed clipper to a paw, treat. Then do one “pretend” clip (position the clipper, don’t cut), treat lavishly.
Day 10+: One nail. Trim a single nail — just the sharp tip — then treat and stop for the day. Yes, one nail. The next day, two nails. Build to a full paw over a week or two. This feels absurdly slow, but each tiny session deposits trust. Within a month, most cats accept full trims calmly. Rushing is what created the wrestling match; slowness is what ends it.
The Cutting Technique: Where and How Much
Look at the nail: you’ll see the pink quick (blood vessel and nerve) inside lighter nails — on dark nails, trim conservatively since you can’t see it. Cut only the sharp, curved tip, staying 2mm from the quick. The correct angle: cut from top to bottom following the nail’s natural curve, not straight across. Take less than you think — you can always trim again in a week, but you can’t un-cut the quick.
Work in good light, and do front paws first (they grow faster and cause the scratching). Hind nails need trimming less often but don’t skip them — they can grow into paw pads if neglected. If your cat has extra toes (polydactyl cats are common, especially in some regions), check every digit including dewclaws, which don’t wear down naturally and are the most common ingrown-nail culprits. Cornell’s veterinary resources at Cornell University College of Veterinary Medicine offer excellent illustrated grooming guidance.
When Things Go Wrong
You cut the quick: Don’t panic — it looks dramatic but isn’t dangerous. Apply styptic powder with gentle pressure for 30 seconds. If you don’t have styptic powder, cornstarch or a bar of soap pressed to the nail works. The bleeding stops within minutes. Give the cat a treat and end the session on a calm note; one quick-nick won’t ruin your training if the overall pattern stays positive.
The cat panics mid-trim: Let go immediately. Chasing a panicked cat destroys trust. Wait until another day. The cat won’t tolerate it at all: Some cats — especially seniors, rescues with handling trauma, or cats in pain (arthritis makes paw handling hurt) — may never accept home trims. That’s okay: vet techs do trims cheaply (often $15–$25), and mobile groomers come to you. Also have your vet check for pain if a previously tolerant cat suddenly resists — behavior changes are medical information. And protect your furniture in the meantime with pet-friendly home surfaces and plenty of scratching posts.
Conclusion
Trimming your cat’s nails without getting scratched isn’t about restraint techniques — it’s about training: desensitize gradually, use sharp tools, cut only the tips, and never push past the cat’s comfort. Invest two to four weeks in the slow method and you’ll have a cat who tolerates trims calmly for the rest of their life. The scratches stop when the fear stops. And once your cat learns that nail trims predict treats rather than terror, you’ll wonder why you ever dreaded it — many owners report their cats eventually offering a paw voluntarily.
Frequently Asked Questions
How often should I trim my cat’s nails?
Every 2–4 weeks for most indoor cats. Outdoor cats wear their nails down naturally and may need trims rarely. Check monthly: if the nails are sharp enough to snag fabric or you can hear clicking on hard floors, it’s time.
What if my cat has dark nails and I can’t see the quick?
Trim tiny slivers off the tip and check the cut surface after each snip — when you see a pinkish or grayish oval appear in the center of the nail, stop; you’re approaching the quick. When in doubt, take less. You can always trim more next week.
Is it okay to just trim the front paws?
Front paws are the priority since they do the scratching, but don’t ignore the back nails entirely — they grow continuously and can curl into paw pads, especially in older, less active cats. A quick check of all four paws monthly prevents painful ingrown nails.
Should I declaw instead of trimming?
No — declawing is amputation of the last bone of each toe, not nail removal. It’s banned or restricted in many places, causes chronic pain and behavior problems in many cats, and veterinary organizations oppose it. Regular trimming plus scratching posts solves the same problem humanely.