
 By admin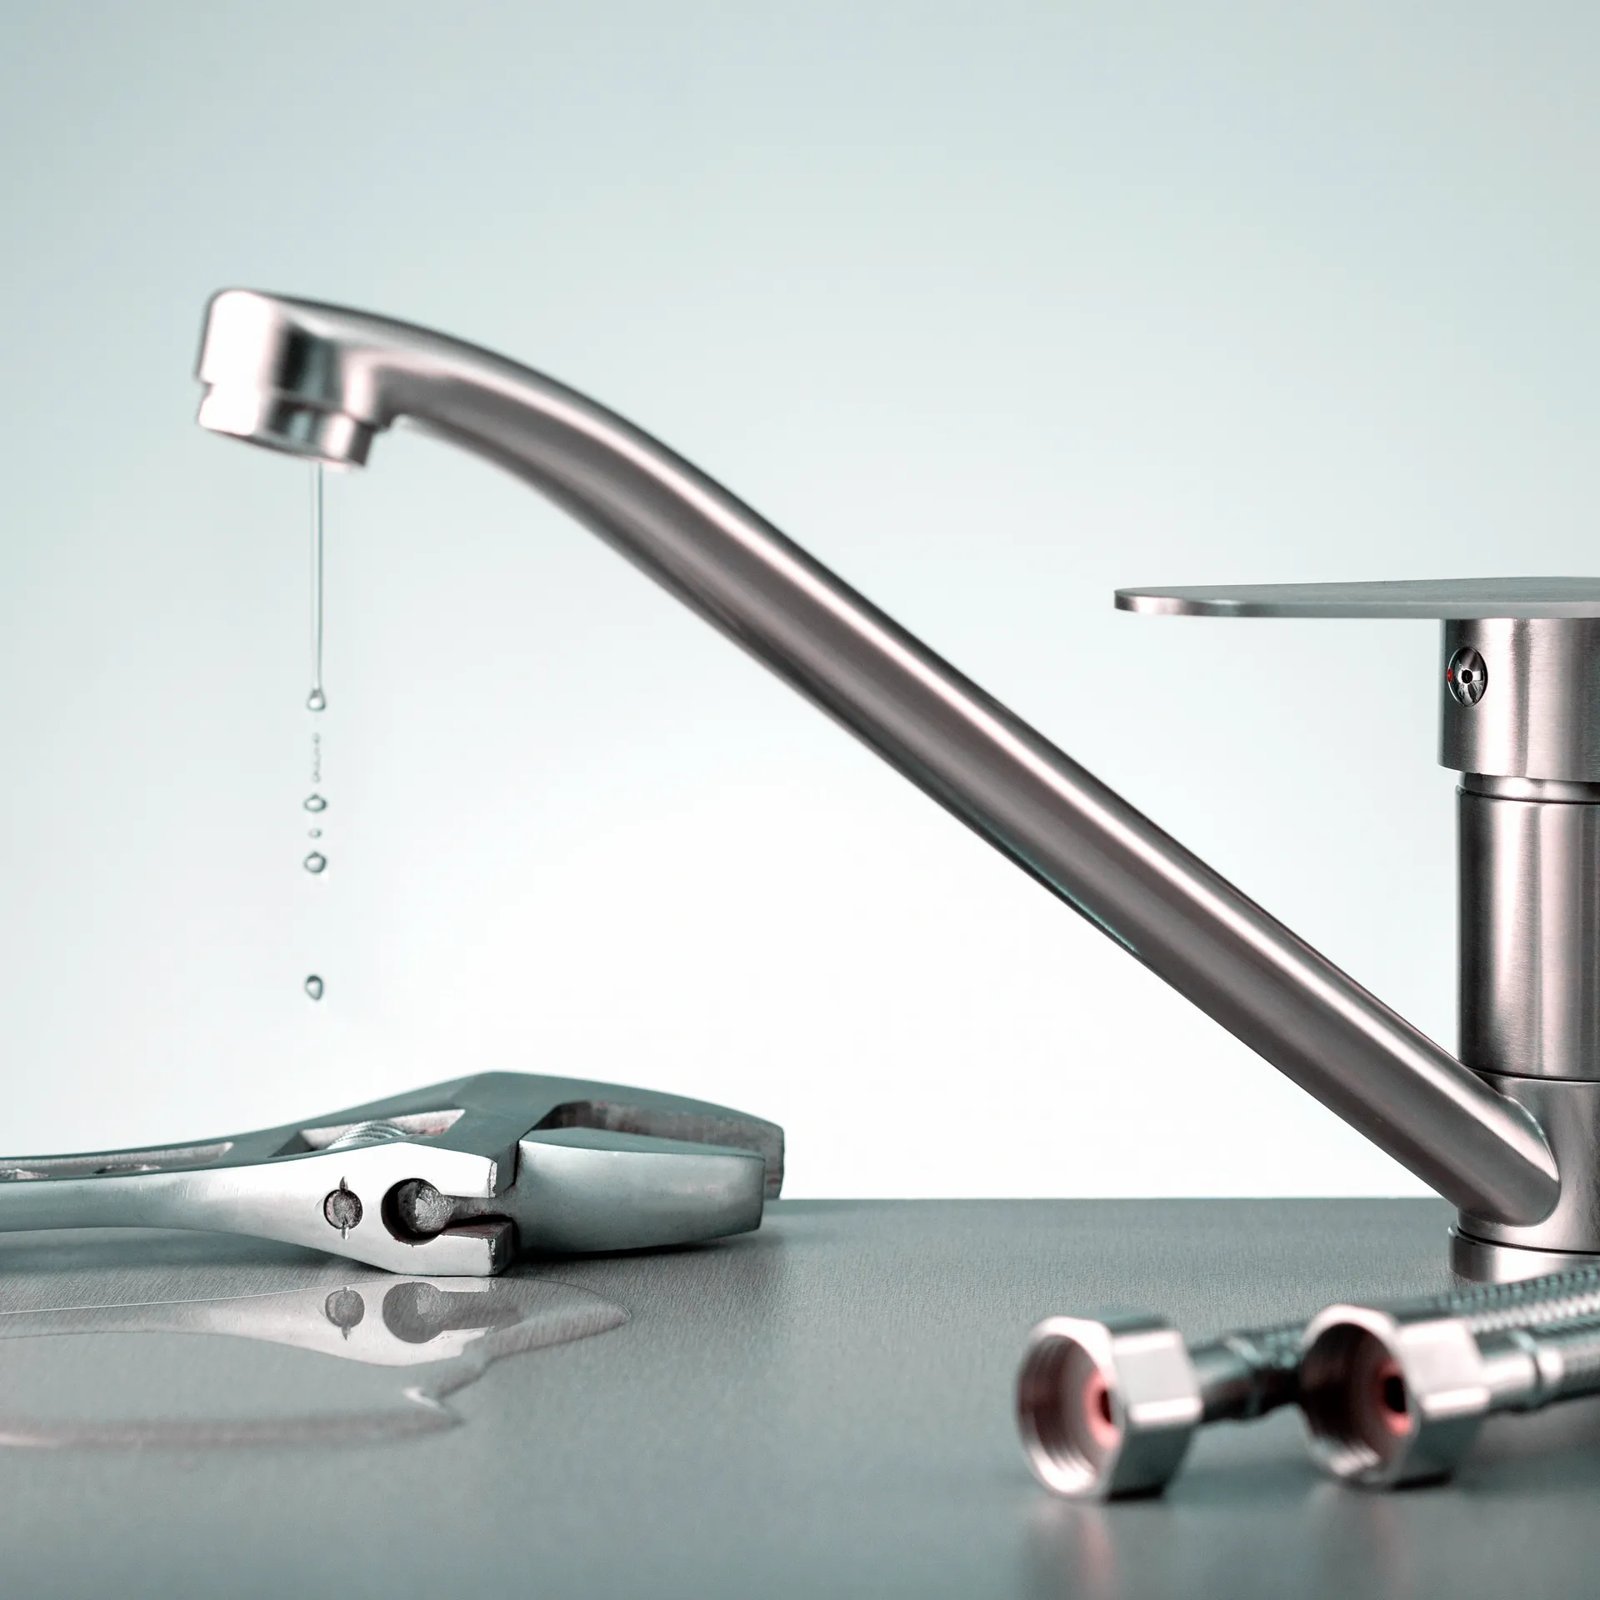
Drip. Drip. Drip. That leaky faucet isn’t just annoying — it’s wasting up to 3,000 gallons of water a year, according to the EPA, and quietly adding to your water bill every single day. The good news? Learning how to fix a leaky faucet yourself is one of the most satisfying beginner plumbing jobs there is. Most leaks take 30–60 minutes, a $5–20 part, and tools you probably already own.
First: Figure Out What Kind of Faucet You Have
There are four common types, and the fix differs slightly for each:
- Compression faucets — two separate handles for hot and cold that you twist multiple turns. The most common leakers, and the easiest to fix.
- Ball faucets — single handle that rotates on a ball joint (common in kitchens, often Delta brand).
- Cartridge faucets — single or double handle that moves up/down or side to side smoothly (very common in modern bathrooms, often Moen).
- Ceramic disk faucets — single lever, very smooth operation, most durable and least likely to leak.
If you’re not sure, take a photo of the faucet and show it at the hardware store — they’ll identify it instantly.
How to Fix a Leaky Faucet Yourself: The Universal Steps
Step 1: Turn off the water
Look under the sink for the shut-off valves (small oval handles on the water lines) and turn them clockwise. No valves? Turn off the main water supply to the house. Then turn the faucet on to drain remaining water and confirm the supply is off.
Step 2: Plug the drain
Stuff a rag or sink stopper in the drain. Faucet parts are small, and the drain is hungry. This step saves more DIYers than any other.
Step 3: Disassemble the faucet
Remove the decorative cap on the handle (it usually pops off with a flathead screwdriver), unscrew the handle screw, and lift off the handle. Then unscrew the packing nut or bonnet nut with an adjustable wrench. Keep parts in order as you remove them — a phone photo at each stage is smart.
Step 4: Replace the worn part
For compression faucets (the most common DIY fix): unscrew the stem and you’ll find a small rubber washer at the bottom held by a brass screw. That washer is almost certainly your culprit — it’s worn, cracked, or flattened. Take it to the hardware store to match the exact size, replace it, and reassemble. Cost: under $5.
For cartridge faucets: pull out the cartridge (you may need pliers) and replace it with an identical one — bring the old cartridge to the store for matching. Cost: $10–$30.
For ball faucets: buy a repair kit for your brand (about $15–$20) containing replacement springs, seats, and O-rings, and follow the included diagram.
Step 5: Reassemble and test
Put everything back in reverse order — snug, not gorilla-tight. Turn the water back on slowly and check for leaks. Run both hot and cold. Done.
Tools You’ll Need
- Adjustable wrench
- Flathead and Phillips screwdrivers
- Plumber’s grease (for O-rings)
- Replacement washer, cartridge, or repair kit
- Rag and a small container for parts
If you’re building your DIY toolkit from scratch, check our list of tools every homeowner needs — an adjustable wrench and screwdriver set cover a surprising number of household repairs.
When to Call a Plumber Instead
DIY has limits. Call a professional if:
- There’s no shut-off valve and you’re not comfortable touching the main supply.
- The faucet is corroded solid — forcing it can break pipes inside the wall, turning a $5 fix into a $500 one.
- You see water damage under the sink — the leak may have been going on longer than you think.
- You’ve replaced the washer and it still drips — the valve seat itself may be damaged and need reseating or replacement.
Preventing Future Leaks
Don’t crank handles closed with all your strength — that’s what wears washers out prematurely. Turn them off firmly but gently. And if your water pressure is very high (above 80 psi), consider a pressure regulator; high pressure accelerates wear on every washer and seal in your plumbing.
The EPA’s WaterSense program has excellent resources on finding and fixing household leaks — that dripping faucet is just the most audible one.
How to Identify Your Faucet Brand and Model
Knowing the brand makes finding the right replacement part dramatically easier. Here’s how to identify it:
- Look for a logo — check the faucet body, the escutcheon plate, and underneath the sink. Moen, Delta, Kohler, and Pfister usually stamp their name somewhere visible.
- Check under the sink — supply lines and valves often have brand tags or model numbers printed on them.
- The handle shape is a clue: Delta’s ball faucets have a distinctive domed cap; Moen’s cartridges often have a specific horseshoe clip; Kohler tends toward unique trim designs. A hardware store plumbing associate can often identify from a photo.
- Take the old part with you. This beats brand identification entirely — match the cartridge or washer physically at the store. Most stores have sizing guides and thread checkers at the plumbing aisle.
- Manufacturer support: Delta, Moen, and Kohler all have excellent customer service lines that will identify your model from photos and often send replacement cartridges free under their lifetime warranties. Call before you buy — you might not need to spend anything.
That last point is worth emphasizing: many premium faucet brands warranty cartridges for life. A five-minute phone call can turn a hardware store trip into a free part arriving by mail.
How Often Do Faucet Parts Wear Out?
Washers typically last 3–5 years; cartridges 5–10 years depending on water quality. Hard water (high mineral content) wears parts faster — if you’re replacing washers every two years, consider a water softener; it’ll extend the life of every washer, valve, and appliance in the house. Keep a spare washer kit ($5) in the junk drawer and the next drip is a 15-minute fix instead of a hardware store trip.
While you have the toolbox out, it’s worth learning unclogging a drain without harsh chemicals too — the two skills together handle most common sink problems without a plumber.
The Bottom Line
How to fix a leaky faucet yourself: shut off the water, plug the drain, disassemble the handle, and replace the worn washer or cartridge — usually a $5–$20 part and under an hour of work. It’s the perfect first plumbing project: low risk, high satisfaction, and your water bill (and your sanity) will thank you. And once you’ve done one faucet, every other drip in the house suddenly looks fixable too.
[…] other common plumbing fixes you can handle yourself, our guide to fixing a leaky faucet is the natural next skill to […]
[…] prompt to check the rest of your plumbing. If you’re building DIY confidence, our guide to fixing a leaky faucet is the natural next project — and the EPA’s WaterSense program has a great checklist for […]