
 By admin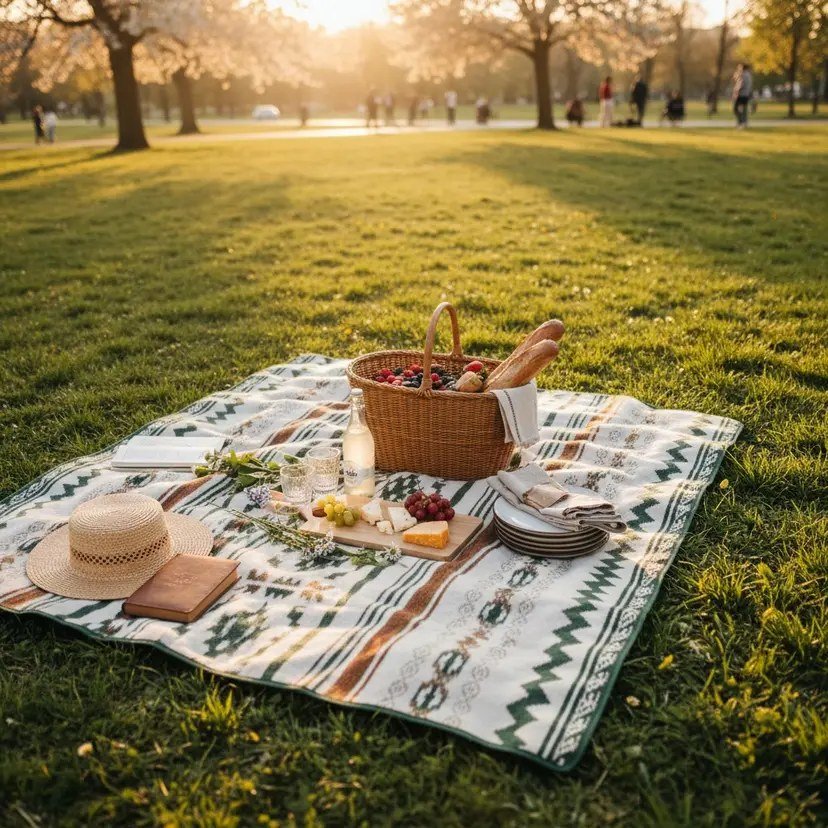
A perfect picnic looks effortless — a checkered blanket, golden light, delicious food, everyone laughing. The reality behind that Instagram photo is planning, because picnics have more failure modes than most outdoor activities: soggy food, ants, no shade, forgotten essentials, weather surprises. I’ve planned dozens of picnics, from romantic dates to big family outings, and the perfect ones all follow the same formula. Here’s the complete playbook.
Step 1: Pick the Right Spot
Location makes or breaks a picnic. What to look for:
- Shade options. A spot with trees or a pavilion nearby. Direct sun for 2 hours is miserable — dappled shade is the dream. Scout on Google Maps satellite view if you’re trying somewhere new.
- Flat ground. Obvious, but check: a gentle slope means everything rolls. Walk the spot before committing the blanket.
- Proximity to parking and restrooms. Especially with kids or older adults. A 15-minute hike with a cooler is nobody’s idea of fun.
- The view factor. Water, skyline, gardens, mountains — a good view makes the whole experience better. Lakes and rivers are picnic gold.
- Rules check. Some parks prohibit alcohol, glass, or amplified music. Some require reservations for pavilions. A 2-minute website check prevents awkward encounters with park rangers.
Great standby options: botanical gardens (often allow picnicking on lawns), state parks, lakeshores, and — the most underrated — your own backyard, done right.
Step 2: The Food (The Main Event)
Picnic food has specific requirements: delicious at room temperature, sturdy enough to transport, easy to eat without utensils (or with minimal ones), and not too smelly or messy. The ideal picnic menu:
- The centerpiece sandwich or wrap. Baguette sandwiches (assembled at home, wrapped tightly), wraps, or focaccia sandwiches. Pro move: assemble sandwiches with condiments in the middle (not touching bread) to prevent sogginess. Or pack components separately and assemble on-site — 5 minutes of work for dramatically better texture.
- Two salads or sides. Pasta salad, potato salad, coleslaw, or grain salad — all better after marinating, all transport well. Keep mayo-based salads cold (see food safety below). A vinaigrette-dressed salad is safer in heat than a mayo-based one.
- Snacking layer. Cheese, cured meats, crackers, grapes, crudités with hummus — the budget charcuterie board principles apply perfectly to picnics. This is what people graze on while everything else is being set up.
- Fruit. Whole fruit (apples, grapes, berries, stone fruit) — nature’s picnic food. Watermelon is classic but heavy; pre-cut it at home into a sealed container.
- Dessert. Soft cookies, brownies, or lemon bars — sturdy, transportable, universally loved. Skip anything with frosting (it melts) or ice cream (obviously).
- Drinks. A big batch of lemonade, iced tea, or infused water in a dispenser or large bottles. For adults: canned wine, beer, or a batch cocktail in a growler. Bring more water than you think you need.
Step 3: The Gear Checklist
The difference between a good picnic and a great one is gear. The essentials:
- Blanket: A real picnic blanket (waterproof backing) or a quilt over a cheap tarp. Regular bedsheets get damp and cold from below — the waterproof layer matters.
- Cooler with ice packs: For everything perishable. Freeze water bottles to double as ice packs and drinking water.
- Cutting board + knife: For cheese, fruit, bread. Wrap the knife securely.
- Plates, cups, napkins, utensils: Real plates beat paper for wind resistance. Bring a trash bag — leave no trace.
- Paper towels and wet wipes: Non-negotiable. Sticky hands ruin picnics.
- Sunscreen and bug spray: Apply before you leave; reapply at the picnic.
- A small first-aid kit: Band-aids, antiseptic. For splinters, bee stings, and scraped knees.
- Entertainment: A frisbee, a book, a portable speaker (keep volume respectful), card games. See card games for two for couples’ picnics.
- Layers: Even warm days cool down. A light blanket or jackets for everyone.
Step 4: Food Safety Outdoors
This matters more than people think. Perishable food (meats, dairy, mayo salads, cut fruit) shouldn’t sit out more than 2 hours — only 1 hour if it’s above 90°F. Strategies: keep the cooler closed and in the shade, serve food in batches (keep half in the cooler, refill as needed), and use frozen water bottles nestled around dishes. The FoodSafety.gov guidelines have the full outdoor food safety rules. When in doubt, the vinaigrette-based and whole-food options are safer bets than mayo-heavy dishes in heat.
Step 5: Timing and Atmosphere
- Golden hour picnics are elite. Late afternoon (4-6 PM arrival) gives you warm light, cooling temperatures, and sunset as the finale. Morning picnics (brunch-style) are the underrated alternative — fewer crowds, fresh energy.
- Avoid midday in summer. 12-3 PM in July is the worst picnic window — harsh sun, peak heat, peak bugs.
- Check the wind. A breezy day is pleasant; a windy day sends napkins flying and sand into food. Check the forecast — sustained winds over 15 mph mean pick a sheltered spot or reschedule.
- Have a rain plan. A pop-up canopy or pavilion reservation saves the day. Or embrace it — a backyard picnic under a covered patio in the rain is weirdly romantic.
Picnic Variations
- Romantic picnic: Arrive at golden hour, bring the good cheese, a baguette, fruit, chocolate, and wine. A small Bluetooth speaker with a playlist. Keep it simple — the setting does the work.
- Family picnic: Add active entertainment (frisbee, soccer ball, scavenger hunt), kid-friendly foods, and extra snacks. See outdoor family activities for ideas.
- Friends picnic: Make it potluck — everyone brings a dish. Less work, more variety, built-in conversation starter.
Plan the Perfect Picnic: Quick Answers
What food is best for a picnic? Food that’s delicious at room temperature and easy to eat: baguette sandwiches, pasta or grain salads, cheese and cured meats, whole fruit, and sturdy desserts like cookies or brownies. Avoid anything needing reheating or that melts.
How do I keep picnic food safe in heat? Perishables (meats, dairy, mayo salads, cut fruit) shouldn’t sit out more than 2 hours — 1 hour above 90°F. Keep the cooler closed and shaded, serve in batches, and favor vinaigrette-based salads over mayo-based ones in heat.
What is the best time of day for a picnic? Late afternoon (4-6 PM) — golden light, cooling temperatures, sunset finale. Morning brunch picnics are the underrated alternative. Avoid midday in summer: harsh sun, peak heat, peak bugs.
What do people always forget for picnics? A knife and cutting board, paper towels and wet wipes, trash bags, sunscreen, and a blanket with waterproof backing. The food gets planned; the logistics get forgotten — use a checklist.
Outdoor food safety rules are summarized clearly at FoodSafety.gov.
Practical Takeaway
The perfect picnic = a shady, flat spot with a view + room-temperature-friendly food (sandwiches, two salads, snacking layer, fruit, sturdy dessert) + proper gear (waterproof blanket, cooler, knife, wipes, sunscreen) + food safety awareness + golden-hour timing. Plan it in an afternoon, and you’ll create the kind of simple, perfect day people remember for years.