
 By admin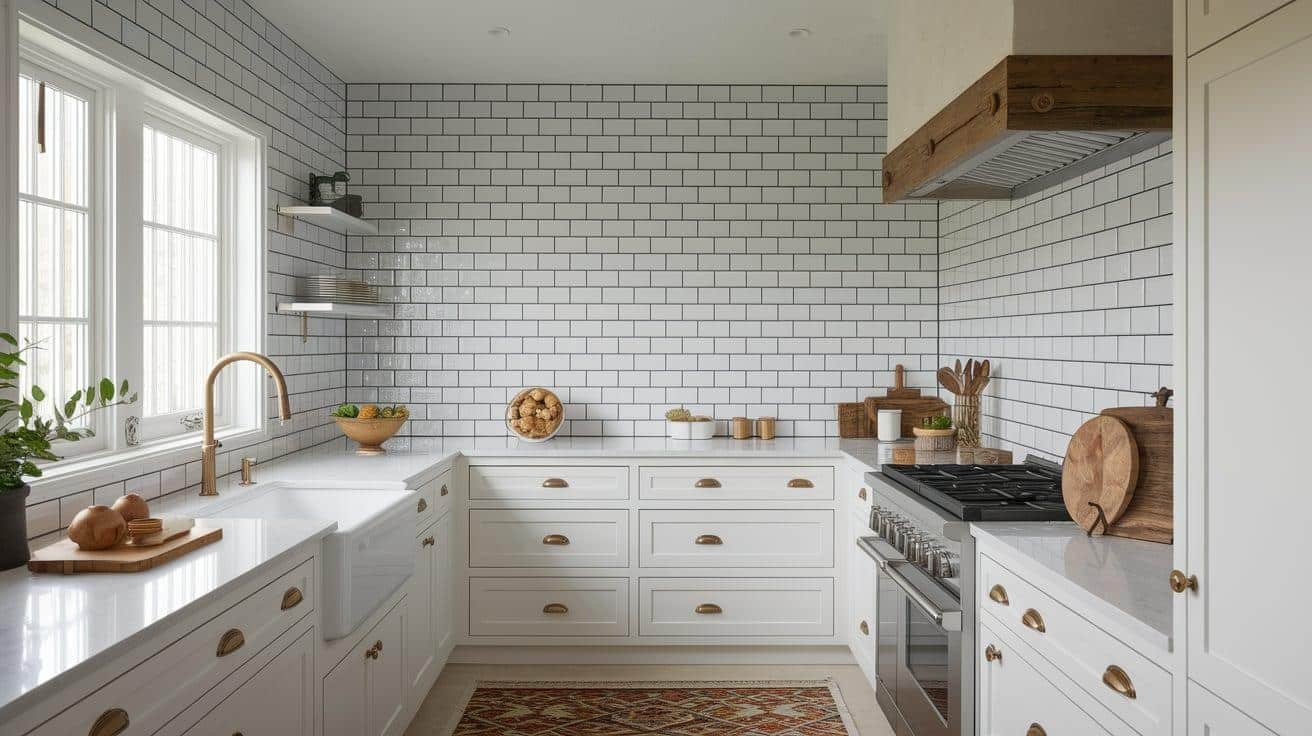
A tile backsplash is the jewelry of the kitchen — a relatively small area that delivers an outsized style impact. It protects your walls from cooking splatter, wipes clean in seconds, and makes even dated cabinets look intentional. Best of all, installing a backsplash in your kitchen is one of the most beginner-friendly tile projects: small area, no floor leveling, and mistakes hide behind the stove.
What You Need
- Tile (calculate square footage + 10–15% extra for cuts and breakage)
- Thinset mortar (premixed is fine for backsplashes)
- Notched trowel (1/4″ × 1/4″ for most wall tile)
- Tile spacers, tile cutter or wet saw (rent for ~$40/day)
- Grout, grout float, sponges, and buckets
- Level, pencil, painter’s tape
- Caulk (color-matched) for where tile meets countertop
Total materials for a standard 30 sq ft backsplash: $200–$500 depending on tile choice. Subway tile keeps it at the low end; handmade-look or natural stone pushes higher.
How to Install a Backsplash in Your Kitchen: Step by Step
Step 1: Prep the wall
Remove outlet covers and switch plates. Clean the wall thoroughly — grease is the enemy of adhesion. If the wall is painted glossy, scuff-sand it lightly. Turn off power to the outlets you’ll tile around. If you’re removing an old backsplash first, repair the wall damage before proceeding (see our drywall patching guide).
Step 2: Plan the layout
This step separates good tile jobs from bad ones. Find the center of the wall (usually the stove or sink) and dry-lay your pattern outward from there — you want cut tiles at the edges, not in the middle of the focal point. Mark a level horizontal line where your first row sits (typically on the countertop, with a small caulk gap). For outlets: plan so they fall in the middle of tiles where possible, not on grout lines.
Step 3: Apply thinset and set tile
Spread thinset on a 2–3 sq ft section with the notched trowel, holding it at 45° for even ridges. Press tiles firmly with a slight twist — you should feel them seat into the mortar. Use spacers for consistent grout lines. Work in small sections so the thinset doesn’t skin over. Check level every few rows; walls are never as straight as you think.
Step 4: Cut around obstacles
Outlets, switches, and the range hood need precise cuts. Measure twice, mark the tile, and cut with a wet saw (rented) or a snap cutter for straight cuts on ceramic. For outlet boxes: the tile should overlap the box edge by about 1/4″ all around — the cover plate hides the cut edge, so it doesn’t need to be perfect, just close.
Step 5: Let it cure
Wait 24 hours before grouting. Seriously — grouting too early shifts tiles. Use the time to clean up and admire your work.
Step 6: Grout
Mix grout to peanut-butter consistency (or use premixed). Work it into the joints with a grout float held at 45°, pressing firmly diagonally across the lines. After 15–20 minutes, wipe with a damp (not wet) sponge — too much water weakens grout and causes haze. Rinse the sponge frequently. A second light wipe an hour later removes remaining haze.
Step 7: Caulk the edges
Where tile meets countertop, cabinets, or walls: caulk, not grout. These joints move slightly with temperature and settling — grout cracks, caulk flexes. Use color-matched sanded caulk for a seamless look.
Step 8: Seal (if needed)
Cement-based grout should be sealed after 48–72 hours of curing. Natural stone tile needs sealing too. Sealed grout resists stains dramatically better — and our grout cleaning guide explains why this step saves you future scrubbing.
Choosing Tile: What Works Best
- Subway tile: timeless, cheap ($2–$5/sq ft), forgiving to install. The safe classic.
- Large-format tile: fewer grout lines, modern look, but harder to cut around outlets.
- Mosaic sheets: great for curves and small areas; the mesh backing makes installation fast.
- Handmade-look (zellige-style): gorgeous variation, premium price, trickier to keep level.
- Peel-and-stick: not real tile, but a legitimate renter-friendly or ultra-budget option ($5–$10/sq ft, no mortar needed).
Common Beginner Mistakes
- Starting in a corner instead of centering on the focal point — ends with a sliver cut front and center.
- Spreading too much thinset at once — it skins over and tiles don’t bond.
- Skipping the level checks — a row that’s 1/8″ off at the start is 1″ off by the top.
- Grouting too wet — weakens grout, causes efflorescence and haze.
- Grouting the countertop joint instead of caulking it — it will crack within a year.
Backsplash Designs That Never Look Dated
Tile is semi-permanent — choose like you’ll live with it for 15 years, because you will:
- White subway tile, running bond. The undefeated champion. In style for a century, works with every cabinet color, cheap, and easy to install. If you’re paralyzed by choice, this is the answer.
- White subway, herringbone. Same timeless tile, more visual interest. Slightly harder to install (more cuts), but the pattern lifts the whole kitchen.
- Large-format neutral tile. Fewer grout lines = calmer, more modern look. 4×12 or 6×12 in white, cream, or light gray. Easier to clean than small mosaics.
- Handmade-look white/cream (zellige-style). Subtle variation and texture that reads as artisanal, not trendy. Pricier, but the most “designed” look of the timeless options.
- What to avoid for longevity: bold patterned cement tile (gorgeous, but very “2018”), tiny mosaics with endless grout lines (dating + cleaning nightmare), and anything you’d describe as “statement” — statements age; classics don’t.
Grout color matters as much as tile: matching grout (white tile + white grout) looks seamless and calm; contrasting grout (white tile + dark grout) looks graphic and bold but shows every imperfection and dates faster. For the timeless look, match the grout to the tile.
For the industry’s official tile installation standards (including backsplash substrates), the Tile Council of North America handbook is the definitive reference.
The Bottom Line
How to install a backsplash in your kitchen: prep and clean the wall, plan the layout from the center outward, set tile in small thinset sections, cut carefully around outlets, cure 24 hours, grout, caulk the edges, and seal. A weekend project, $200–$500 in materials, and the kitchen looks professionally updated. It’s the ideal first tile project — small enough to be forgiving, visible enough to be satisfying.