
 By admin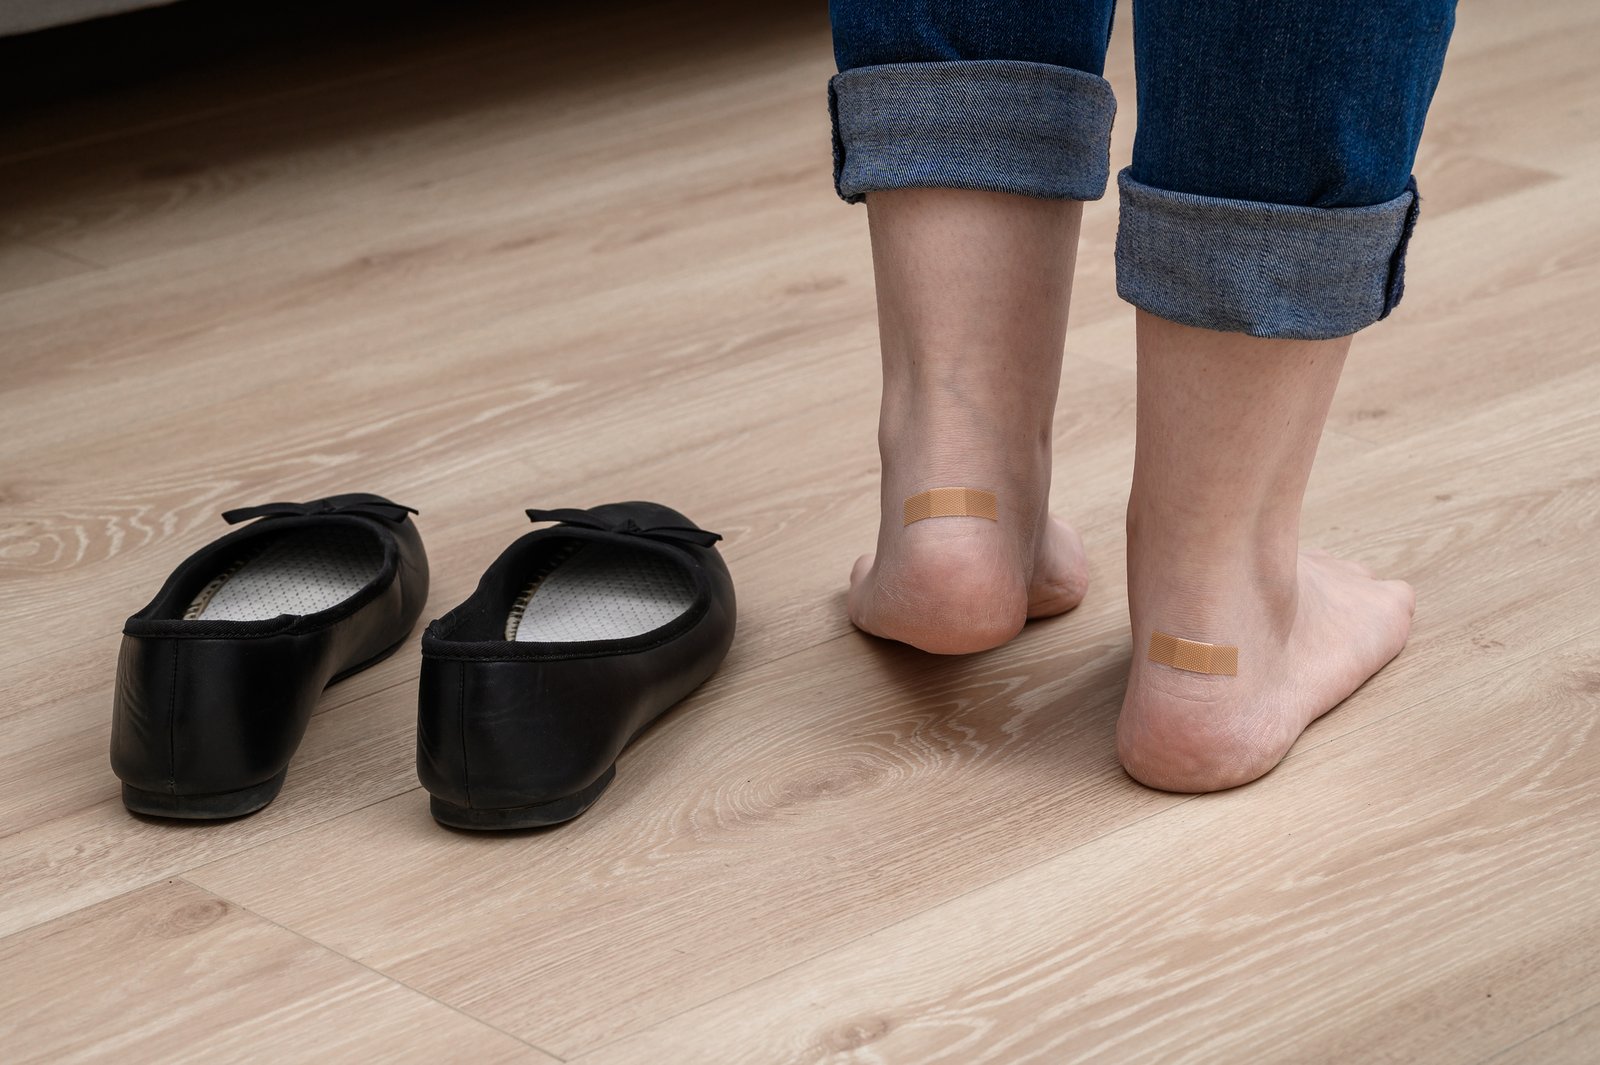
Blisters are a friction injury — skin rubbing against shoe, moisture making it worse, heat sealing the deal. They’re also almost entirely preventable. Whether it’s new heels, hiking boots, or running shoes, here’s the complete anti-blister playbook, from purchase to race day.
Buy Right: Prevention Starts at the Store
- Fit is everything. A thumb’s width between longest toe and shoe end; no heel slip when you walk; shop in the afternoon when feet are slightly swollen (that’s their real size).
- Know the hot spots. Everyone has them — heel back, sides of big/little toe, ball of foot. If a shoe presses there in the store, it will blister there on the street.
- Materials matter. Stiff leather needs breaking in; soft knit and mesh rarely blister. Patent leather and rigid synthetics are the worst offenders.
How Can I Stop My Shoes From Giving Me Blisters? Break Them In
Gradual wear: 30–60 minutes indoors for several days before any real outing. Walk, don’t just stand — flexing creases the shoe to your foot. Targeted softening: flex stiff areas by hand, use a shoe stretcher on tight spots overnight, or have a cobbler stretch them professionally ($10–15, very effective). Heat-mold where applicable: some athletic shoes are designed for heat molding at running stores. Thick socks during break-in accelerate the stretching process.
The friction-fighting arsenal
- Right socks: moisture-wicking synthetic or wool socks — never cotton, which holds sweat against skin. Double-layer socks eliminate skin-on-shoe friction for hikers and runners.
- Anti-friction balm/sticks: apply to known hot spots before wearing — they reduce friction dramatically for the day.
- Moleskin and blister pads: pre-cut pieces on hot spots before blisters form (preventive, not just treatment). Keep some in your bag always.
- Heel grips and tongue pads: fill small fit gaps that cause slipping — the #1 blister cause in heels and loafers.
- Lacing techniques: heel-lock lacing stops heel slip in athletic shoes; skipping eyelets relieves pressure points. REI’s blister guide demonstrates the key methods.
The American Podiatric Medical Association emphasizes that recurring blisters in well-fitted shoes warrant a professional fitting — sometimes the last shape just doesn’t match your foot.
If You Get One Anyway
Don’t pop small blisters — the skin roof protects against infection. Cover with a blister-specific bandage (hydrocolloid) and leave it. Large, painful blisters: sterilize a needle, drain at the edge, keep the roof intact, apply antibiotic ointment, and cover. Redness spreading, pus, or increasing pain means infection — see a doctor, especially if diabetic (foot injuries need professional care, no exceptions).
Blister Treatment: The Field Guide
Prevention failed? Here’s the treatment protocol:
- Small, intact blisters: don’t pop. Cover with a blister bandage (hydrocolloid) and leave it — the roof is nature’s bandage.
- Large, painful blisters: sterilize a needle (alcohol/flame), puncture at the edge, press fluid out gently, keep the roof intact, apply antibiotic ointment, cover with a bandage.
- Torn blisters: clean gently, apply antibiotic ointment, cover with a non-stick bandage. Change daily.
- Keep it clean and dry. Change bandages if they get wet; moisture + broken skin = infection risk.
- Don’t “air it out” prematurely. Covered healing is faster and safer than exposed.
See a doctor for: spreading redness, red streaks, pus, increasing pain after 48 hours, fever — or any foot wound if you’re diabetic (non-negotiable: diabetics should never self-treat foot blisters).
Shoe stretching and professional fixes
Some shoes are worth saving: cobbler stretching ($10–20) fixes tight spots precisely — bunions, wide forefeet, high insteps. Heel grips and pads fix minor slip. Tongue pads take up volume in shoes slightly too big. Insoles improve fit and comfort simultaneously. But know when to quit: shoes that blister after proper break-in and fixes don’t fit your foot — no shoe is worth chronic injury. Significant size mismatches can’t be fixed with accessories. Structural problems (twisted soles, collapsed heels) mean the shoe is done. The sunk-cost fallacy applies to shoes: the money’s spent either way; your feet are the ongoing cost. Donate the beautiful-but-painful pair and buy what fits.
Blister Prevention for Specific Activities
- Hiking: broken-in boots, moisture-wicking socks (liner + outer), moleskin on known hot spots before the trail, lace-lock techniques, and stop at the first hot spot — never “push through.”
- Running: proper running shoes (fitted at a running store), technical socks (never cotton), anti-friction balm on long runs, and address any hot spot by mile 2 — it will not improve by mile 10.
- New heels: break in at home, gel pads, heel grips, and carry flats. The first wear should not be the wedding.
- Dance: proper dance shoes (street shoes cause blisters and injuries), broken in through classes, not performances.
- Work boots: quality socks, proper lacing, insoles — and replace boots when the interior wears (worn linings cause blisters regardless of exterior condition).
The sock science
Socks are the most underrated blister factor: material — merino wool and synthetics wick moisture; cotton holds it (the blister accelerator). Fit — no wrinkles, no bunching; sock wrinkles cause blisters as surely as shoe problems. Double-layer — the liner sock moves against the outer sock, not your skin — friction happens between fabrics. Seamless toes — toe seams are a top blister source; seamless designs eliminate it. Activity-specific — running socks, hiking socks, dress socks exist for reasons; the right sock for the activity matters. Replace worn socks — thin heels and worn elastic change the fit dynamics. A $15 pair of proper socks prevents the blisters that a $150 shoe can’t — the cheapest performance upgrade in footwear.
When to replace vs. repair shoes
Know the end of the road: repair when the uppers are good and the soles, heels, or stitching are worn — a cobbler returns them for a fraction of replacement cost. Replace when the upper leather is cracked through, the structure is collapsed, the interior is destroyed, or the fit has permanently changed. The test: would you buy this exact shoe, in this condition, at a thrift store? If not, it is done. Letting go of dead shoes is not wasteful — wearing them is, since damaged shoes injure feet and the injuries cost more than replacements.
The Practical Takeaway
Fit properly, break in gradually, wear moisture-wicking socks, preempt hot spots with moleskin and anti-friction balm, and fix heel slip with grips or lacing. Blisters are optional. Related reading: How to Clean Suede Shoes at Home and How to Match Your Belt With Your Shoes.
[…] isn’t delicate — it’s just dry-clean only in spirit. For more on this topic, see How to Stop Shoes From Giving You Blisters and How to Match Your Belt With Your […]