
 By admin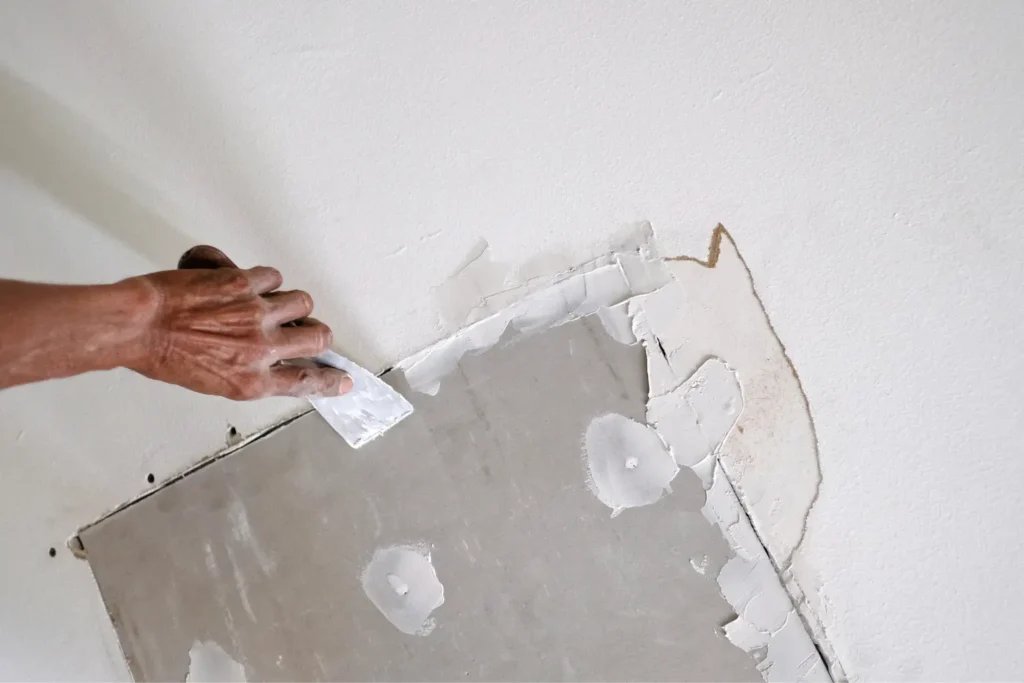
Doorknobs, furniture corners, enthusiastic kids, and that time you moved the couch — drywall takes a beating. The good news: patching drywall holes is one of the most satisfying DIY repairs there is. A hole that looks catastrophic takes 20 minutes of actual work (plus drying time), costs under $15, and when you’re done, it’s genuinely invisible. Landlords, home sellers, and perfectionists all need this skill.
What You Need
- Lightweight spackle or joint compound
- Putty knives (a 2″ and a 6″ — the pair costs $10)
- Fine-grit sandpaper or sanding sponge (120–150 grit)
- Self-adhesive mesh patch or drywall repair kit (for larger holes)
- Primer and matching paint
That’s it. The whole kit costs less than a pizza.
The Best Way to Patch Drywall Holes: By Size
Small holes (nail holes, up to ½”)
The easiest repair in homeownership:
- Push a dab of spackle into the hole with your finger or a putty knife.
- Scrape flush with the putty knife — one clean pass. Don’t overwork it.
- Let dry (30–60 minutes for lightweight spackle).
- Sand lightly with fine sandpaper — just enough to smooth, not enough to scuff surrounding paint.
- Spot-prime and paint.
For a wall full of nail holes (moving out? rearranging art?), do them assembly-line: fill all, sand all, paint once.
Medium holes (½” to 3″ — doorknob holes)
The classic doorknob-through-the-wall:
- Clean up the edges — cut away any loose or crumbling drywall with a utility knife so you have a clean hole.
- Apply a self-adhesive mesh patch over the hole (or use a California patch: a piece of drywall slightly larger than the hole with the back paper peeled to create a flange).
- First coat: spread joint compound over the patch with a 6″ knife, feathering 2–3 inches beyond the patch edges. Don’t aim for perfect — aim for covered.
- Let dry completely (a few hours). Second coat: wider, thinner, feathering further out. The secret to invisible patches is gradually blending into the surrounding wall.
- Third coat if needed — most medium holes need 2–3 thin coats, not one thick one. Thick coats crack and take forever to dry.
- Sand smooth, prime, paint.
Large holes (3″+ — accidents and access panels)
- Cut a clean rectangle around the damage with a drywall saw.
- Add backing: screw wood strips (1×3 furring) inside the opening, spanning the hole, secured to the existing drywall on both sides.
- Cut a drywall patch to fit the rectangle exactly. Screw it to the backing strips.
- Tape the seams with mesh drywall tape.
- Three thin coats of joint compound, each wider than the last, sanding lightly between coats.
- Prime and paint — and paint corner to corner (the whole wall section), not just the patch, or the sheen difference will show.
The Secrets to an Invisible Patch
- Thin coats, plural. The #1 beginner mistake is one thick coat. Three thin coats, each feathered wider, disappear. One thick coat cracks and humps.
- Let each coat dry fully. Joint compound shrinks as it dries. Recoating wet compound causes cracking. When in doubt, wait longer.
- Sand with light pressure. You’re smoothing, not excavating. A sanding sponge conforms to the wall better than flat paper.
- Always prime before painting. Joint compound absorbs paint differently than the surrounding wall — unprimed patches flash through as dull spots.
- Match the paint sheen. The exact color matters less than the sheen — flat touch-up on an eggshell wall will show. If you don’t have the original paint, take a chip to the store for matching.
- Texture matching: for orange-peel or knockdown textures, use spray texture in a can ($10) after the final sand, before priming. Practice on cardboard first.
Common Mistakes
- Skipping the primer — the patch will always show through.
- Sanding the surrounding paint aggressively — creates a bigger visible area than the original hole.
- Painting just the patch on large repairs — sheen mismatch. Paint wall-to-wall (corner to corner) for large patches.
- Using spackle for large holes — spackle is for small holes; joint compound is for patches. They’re different products.
Drywall repair is a core homeowner skill that pairs with many projects — from wallpaper removal cleanup to the wall prep in our beginner DIY projects.
Matching Texture: Orange Peel, Knockdown, and Smooth
A perfectly flat patch on a textured wall screams “repair.” Here’s how to match the three common textures:
- Orange peel (the most common): use a spray texture can ($10–$15). Practice on cardboard first — the technique is light, even passes from 18–24 inches away. Less is more; you can always add another pass. Let it dry, then knock down the very tops lightly with a taping knife if your wall’s version is subtle.
- Knockdown: spray heavier orange-peel texture, wait 10–15 minutes until tacky, then lightly flatten with a wide taping knife held nearly flat. The timing window matters — too wet and it smears, too dry and it won’t flatten. Practice on cardboard until you nail the timing.
- Smooth (level 5): the hardest to match perfectly — any imperfection shows. Requires careful skim-coating with a wide knife and thorough sanding. Prime before painting; unprimed compound flashes through as dull spots.
- Popcorn (pre-1980s): test for asbestos before disturbing (homes built before 1980). If clear, scrape the patch area, repair, then use popcorn spray texture. Honestly, many homeowners use a patch as the excuse to finally scrape the whole ceiling — it’s messy but transformative.
The universal rule: texture after the final sand, before priming. Prime over the texture, then paint. And always practice on cardboard — a $10 can of texture and 10 minutes of practice beats a visible patch you’ll stare at for years.
Watching a pro feather joint compound is worth a thousand words — This Old House’s drywall repair videos has the clearest video demonstrations of the techniques above.
The Bottom Line
The best way to patch drywall holes: match the method to the size — spackle and sand for nail holes, mesh patch with 2–3 thin feathered coats of joint compound for medium holes, and a screwed-in drywall patch with backing for large ones. Always prime, match the sheen, and paint corner-to-corner on big repairs. Twenty minutes of work, $15 in materials, and the wall looks like nothing ever happened. It’s the closest thing to a time machine in home repair.
[…] Remove outlet covers and switch plates. Clean the wall thoroughly — grease is the enemy of adhesion. If the wall is painted glossy, scuff-sand it lightly. Turn off power to the outlets you’ll tile around. If you’re removing an old backsplash first, repair the wall damage before proceeding (see our drywall patching guide). […]