
 By admin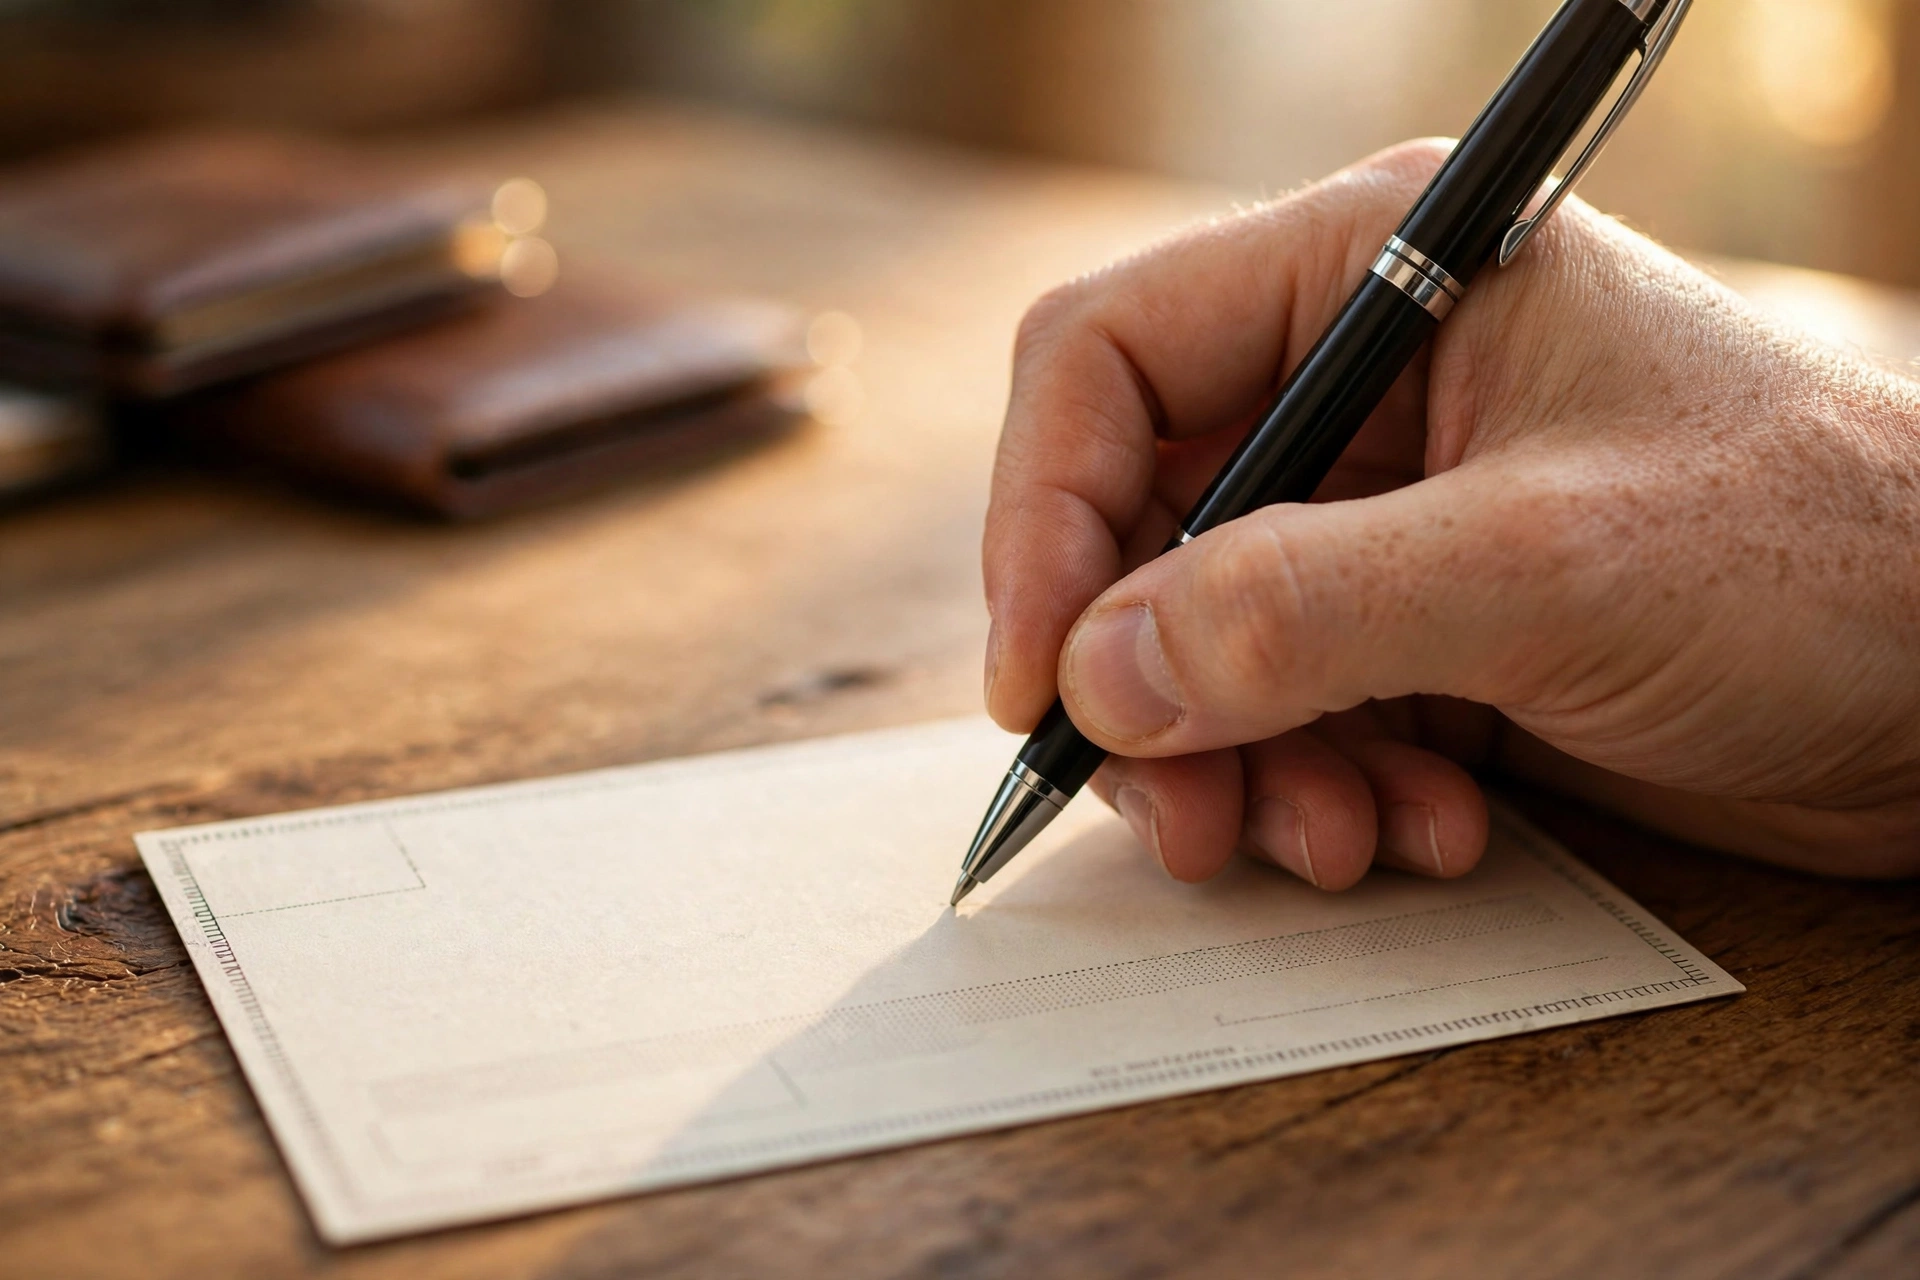
Quick Answer: To write a check, fill in the date on the top line, write the recipient’s name on the Pay to the Order of line, enter the dollar amount in numbers in the box, spell out the amount in words on the line below, sign your name on the bottom-right signature line, and optionally add a memo. Always use a pen, write clearly, and double-check the amounts match before handing the check over.
Why People Still Write Checks
Even in an era of mobile payments and wire transfers, knowing how to write a check is a genuinely useful life skill in the United States. Landlords often prefer checks for rent, many small businesses and contractors accept them, and government agencies, schools, and charities still request them regularly. Checks also create a built-in paper trail: your bank records show exactly when the money left your account and who received it, which is helpful for taxes, security deposits, and any payment you might need to prove later. Some situations, like paying estimated taxes or sending money by mail, are simpler and safer with a check than with cash. Check usage has declined, but it has not disappeared, and writing one incorrectly can cause real headaches.
The Anatomy of a Personal Check
Every standard US personal check has the same layout. Understanding each field before you pick up a pen will keep you from making mistakes.
The Date Line
The date line sits in the top-right corner. Write the current date in full, such as October 15, 2026. You can technically postdate a check by writing a future date, which asks the recipient to wait before depositing it, but banks are not legally required to honor that request, so postdating is unreliable. Never backdate a check.
The Payee Line
The line labeled Pay to the Order of is where you write the name of the person or business receiving the money. Write the full, correct name exactly as the recipient expects it, because a misspelled name can cause the bank to reject the deposit. If you are paying a business, use its official name rather than a nickname.
The Amount Box
The small box on the right side is where you write the payment amount in numbers, such as 250.00. Start the figures as close to the dollar sign as possible so nobody can add extra digits in front. Always include the cents, even if they are zero, by writing .00.
The Amount Line
Below the payee line is a longer line where you spell out the amount in words, such as Two hundred fifty and 00/100. Write out the dollar amount in words, then write the cents as a fraction over 100. Draw a line through any blank space remaining on the line so the amount cannot be altered. If the words and the numbers disagree, the bank will go by the written words, so take extra care here.
The Memo Line
The memo line in the bottom-left corner is optional but useful. Note what the payment is for, such as October rent or Invoice 4521. The memo helps both you and the recipient keep records straight, and it can serve as evidence of what a payment covered.
The Signature Line
Sign your name on the line in the bottom-right corner exactly as it appears on your bank account signature card. A check without a signature is not valid and will be rejected. Never sign a blank check.
Routing and Account Numbers
The numbers printed along the bottom of the check identify your bank and your account. The nine-digit routing number on the left identifies your financial institution, the account number in the middle identifies your specific checking account, and the check number on the right matches the number printed in the top-right corner. You will need the routing and account numbers when setting up direct deposit or automatic payments.
How to Write a Check in 7 Steps
Follow these steps in order every time you write a check.
- Step 1: Write the date. Fill in today’s date on the date line in the top-right corner using a pen.
- Step 2: Write the recipient’s name. On the Pay to the Order of line, write the full name of the person or business you are paying.
- Step 3: Enter the amount in numbers. In the small box, write the amount numerically, snug against the printed dollar sign, including cents as .00 if there are none.
- Step 4: Spell out the amount in words. On the line below the payee, write the dollar amount in words and the cents as a fraction over 100, then draw a line through leftover space.
- Step 5: Add a memo. On the memo line, note the purpose of the payment for your records and the recipient’s.
- Step 6: Sign the check. Sign your name on the signature line in the bottom-right corner, matching the signature your bank has on file.
- Step 7: Record the payment. Note the check number, date, payee, and amount in your check register, budgeting app, or banking app so you know the money is spoken for.
Common Mistakes to Avoid
The most frequent error is a mismatch between the numeric amount and the written amount; since banks honor the words, a sloppy amount line can cost you. Another common mistake is forgetting to sign, which makes the check worthless until corrected. Writing the wrong date, misspelling the payee’s name, and leaving large blank spaces that a fraudster could fill in are all avoidable with a moment of care. If you make an error, do not scribble over it: void the check by writing VOID across the front in large letters, keep it for your records, and start a fresh one. Most banks will reject checks with visible alterations.
How to Deposit a Check You Receive
If someone writes a check to you, endorse the back by signing your name in the endorsement area and writing For Deposit Only if you want to restrict it. You can deposit it at a branch, at an ATM, or through your bank’s mobile app by photographing the front and back. Mobile deposits are convenient, but keep the physical check for at least two weeks until the funds fully clear. Note that banks can place holds on large or unusual checks, so the money may not be available the same day.
Protecting Yourself From Check Fraud
Check fraud is rising in the US, so a few precautions matter. Always use a pen with permanent ink, since pencil or erasable ink can be altered. Mail checks from a post office or a secure mailbox rather than leaving them in an unsecured home mailbox with the flag up. Never write a check to cash, because anyone who finds it can deposit it. Review your bank statements regularly for checks you did not write, and consider your bank’s positive pay or check-monitoring alerts if you write checks for a business. If a check is lost or stolen, call your bank immediately to place a stop payment, which usually costs 15 to 35 dollars but prevents the money from being taken.
Further Reading
- What Would a Background Check Show: What You Need to Know (2026)
- How to Buy a House: Step-by-Step Guide (2026)
- How to Pay Off Credit Card Debt: Step-by-Step Guide (2026)
- Internal Revenue Service
- Consumer Financial Protection Bureau
FAQs
How long is a personal check valid?
Most banks treat personal checks as stale after six months, and they may refuse to honor them. Some businesses and government checks have shorter or longer windows printed on them. If a check you wrote has not been cashed after a few months, contact the recipient before assuming the money is still yours.
What happens if I bounce a check?
If your account lacks sufficient funds, the check bounces. Your bank will likely charge you a nonsufficient funds fee of around 30 to 35 dollars, and the recipient’s bank may charge them too. Repeated bounced checks can get you reported to ChexSystems, which can make it harder to open bank accounts in the future. Always confirm your balance covers the check before writing it.
Can I write a check if I have no checks left?
You can order new checks from your bank, usually for 15 to 30 dollars per box, or print a temporary counter check at a branch. Some banks also let you send a bank-issued check through online banking. Do not try to handwrite a check on plain paper; it will almost certainly be rejected.
Is it safe to write a check for online purchases?
Generally no. Checks are best for people and businesses you know and trust. For online purchases, credit cards and established payment platforms give you far better fraud protection and dispute rights. If a stranger insists on payment by check, treat it as a red flag.
Conclusion
Knowing how to write a check correctly takes only a few minutes to learn and saves you from rejected payments, fees, and fraud headaches. Fill in every field with a pen, make the words and numbers match, sign it, and record the payment. It is a small skill, but it keeps your money moving exactly where you intend it to go.
[…] How to Write a Check: Step-by-Step Guide (2026) […]
[…] How to Write a Check: Step-by-Step Guide (2026) […]
[…] How to Write a Check: Step-by-Step Guide (2026) […]
[…] How to Write a Check: Step-by-Step Guide (2026) […]
[…] How to Write a Check: Step-by-Step Guide (2026) […]