
 By admin
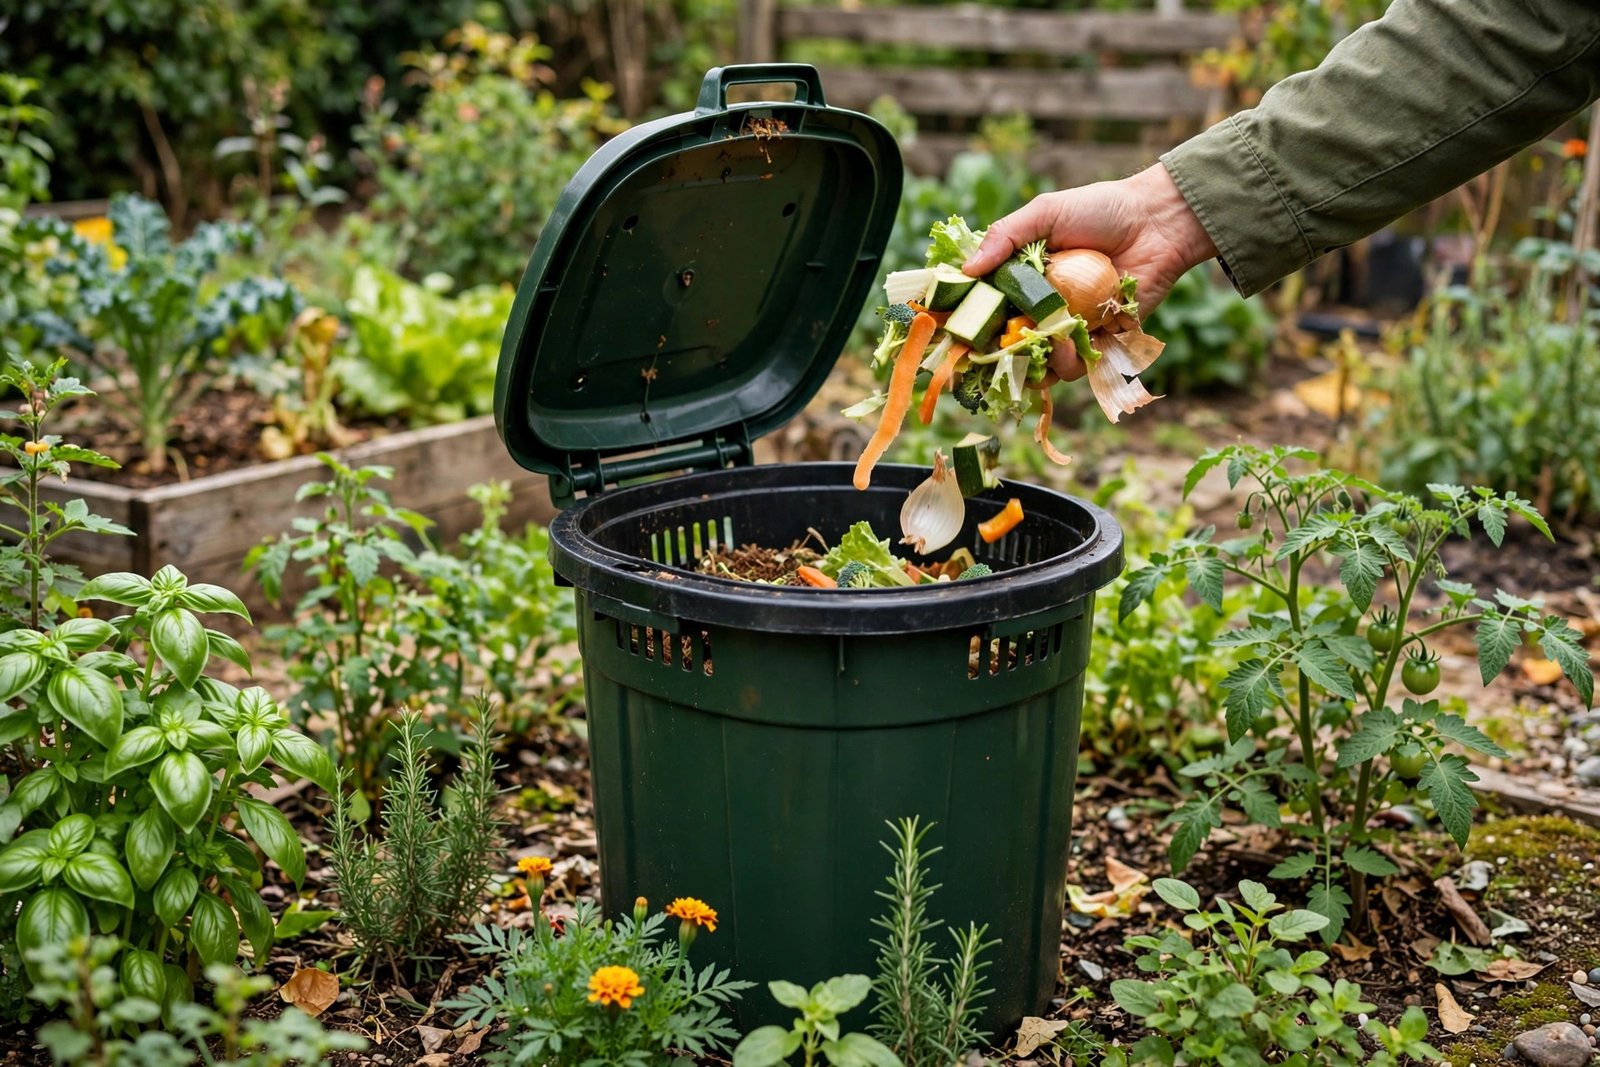
Composting at home is one of the highest-impact things a household can do — it diverts waste from landfills, creates free garden gold, and shrinks your trash output dramatically. But the #1 reason people quit is the smell: a stinky bin on the patio (or worse, in the kitchen) kills the habit fast. Here’s the truth — a smelly compost bin is a broken compost bin. Proper composting smells like forest floor, not garbage. The smell is a diagnostic signal, and it’s fixable.
This guide covers why compost smells, the carbon-nitrogen balance that prevents odor, the best odor-free methods for homes with no yard, and troubleshooting when things go wrong.
Why Compost Smells (It’s Always One of Three Things)
Compost odor has exactly three causes: too much nitrogen (food scraps, grass clippings) without enough carbon — the pile goes anaerobic and produces ammonia (that sharp urine smell); too wet — waterlogged piles exclude oxygen, and anaerobic decomposition smells like rot and sulfur; wrong materials — meat, dairy, and oils putrefy rather than compost in home systems, creating genuinely foul odors and attracting pests.
Notice what this means: smell is never inherent to composting — it’s always a correctable imbalance. A properly built pile smells earthy and pleasant. Understanding this transforms composting from a smelly chore into a simple ratio-management task. The EPA’s composting resources confirm that odor-free home composting is the norm when basic principles are followed.
The Golden Ratio: Browns and Greens
Successful composting is about balancing greens (nitrogen-rich: fruit/veggie scraps, coffee grounds, fresh grass) with browns (carbon-rich: dry leaves, shredded cardboard, newspaper, straw, wood chips). Aim for roughly 3 parts browns to 1 part greens by volume. Every time you add food scraps, cover them completely with browns — this single habit prevents 90% of odor and pest problems. The browns absorb moisture, provide carbon, and create air pockets.
Keep a stash of browns next to your bin at all times — a bag of shredded cardboard, a bale of straw, or a sack of dry leaves. Running out of browns is when bins go wrong. Chop or shred materials small (faster decomposition, less matting), and layer rather than dumping: greens, then browns, repeat. Think lasagna, not landfill. Moisture target: like a wrung-out sponge — damp, not dripping. Too dry stalls decomposition; too wet causes stink. For the broader low-waste lifestyle, see easy ways to be more eco-friendly at home.
Best Odor-Free Methods for Any Home
Outdoor tumbler bins: enclosed, pest-resistant, easy to turn (aeration prevents anaerobic stink), and tidy-looking. The best choice for most suburban homes. Turn 2–3 times weekly; harvest in 2–3 months. Worm composting (vermicomposting): the indoor champion — a worm bin under the sink or in a closet processes kitchen scraps with zero odor when managed right (red wigglers, bedding of shredded newspaper, no overfeeding). It produces the richest compost of any method.
Bokashi: ferments all food waste — including meat and dairy — in a sealed bucket with inoculated bran. It’s anaerobic by design (pickling, not rotting), so it’s contained and low-odor; the fermented output then goes to a soil trench or compost pile to finish. Perfect for apartments. Countertop electric composters: dehydrate and grind scraps into dry material overnight — not true composting (no microbial breakdown), but odorless and volume-reducing. Community options: many cities now offer curbside composting or drop-off sites — zero bin, zero smell, full impact. Your finished compost supercharges a relaxing garden hobby like nothing else.
The Kitchen Collection System (Where Smell Actually Starts)
Most “compost smell” complaints originate not in the bin but in the kitchen scrap container. Fix it: use a small countertop pail with a charcoal filter lid (or a sealed container in the freezer — frozen scraps don’t smell, don’t attract fruit flies, and emptying is a once-a-week task). Empty into the outdoor bin every 2–3 days maximum. Line the pail with newspaper for easy cleaning.
What goes in: fruit/vegetable scraps, coffee grounds and filters, tea bags (remove staples), eggshells (crushed), shredded newspaper, yard trimmings. What stays out: meat, bones, dairy, oils, pet waste, diseased plants, glossy/colored paper, and anything with persistent herbicides. When in doubt, leave it out — one wrong addition can stink up a bin for weeks. The National Gardening Association maintains practical what-to-compost references.
Troubleshooting: Fix Any Smell in 48 Hours
Ammonia smell: too much nitrogen — add a thick layer of browns, turn the pile, and stop adding greens for a week. Rotten/sulfur smell: anaerobic and too wet — turn thoroughly to introduce oxygen, add dry browns, check drainage (drill more air holes if needed), and consider covering in heavy rain. Fruit flies: exposed food scraps — bury scraps deeper under browns, keep the lid sealed, and set out a vinegar trap nearby for the current generation.
Slimy pile: too wet + matted — turn, add bulky browns (wood chips, straw) for air pockets. Not decomposing: too dry or too much carbon — moisten and add greens. Rats/pests: almost always meat/dairy/oils in the bin or an open design — remove offending materials, switch to an enclosed tumbler, and bury scraps deeply. Every problem has a mechanical fix; none require abandoning composting.
Conclusion
Composting without a smelly bin is straightforward: balance every green with three parts brown, keep moisture like a wrung-out sponge, turn for aeration, keep meat and dairy out, and manage kitchen scraps in a sealed or frozen container. Do these five things and your compost smells like a forest floor — producing free, glorious soil amendment while your trash bin gets lighter every week. Start this weekend — your garden, your wallet, and your nose will all approve.
Using your finished compost: apply a 1–2 inch layer around plants as top-dressing, mix into potting soil at about one part compost to three parts soil, or brew it into compost tea for a gentle liquid feed. One tumbler bin typically produces enough black gold for a modest vegetable garden’s annual needs — free fertilizer that also improves soil structure with every application.
Frequently Asked Questions
Can I compost in an apartment with no outdoor space?
Absolutely — worm composting (vermicomposting) is designed for indoors and is odorless when managed properly. Bokashi buckets also work in tiny spaces. Alternatively, many cities offer curbside compost collection or community drop-off sites — check your municipality’s waste program.
How long does compost take to finish?
Hot, actively managed piles: 2–3 months. Tumblers with regular turning: 2–4 months. Passive piles (add and ignore): 6–12 months. Worm bins: 3–4 months for the first harvest, then continuous. Finished compost is dark, crumbly, and smells like earth — if you can recognize the original materials, it’s not done.
Do I need to turn my compost pile?
Turning accelerates decomposition and prevents anaerobic odor by adding oxygen — 1–3 times weekly for fast results. But it’s optional: unturned piles still compost, just slowly (6–12 months), provided the carbon-nitrogen balance and moisture are right. Tumblers make turning effortless.
Why does my compost have white mold/fungus in it?
That’s usually beneficial — white filamentous fungi are decomposers doing their job, especially in woody/carbon-rich piles. It’s a sign of healthy fungal activity, not a problem. Only worry if accompanied by foul odors (which indicate anaerobic conditions needing aeration).