
 By admin
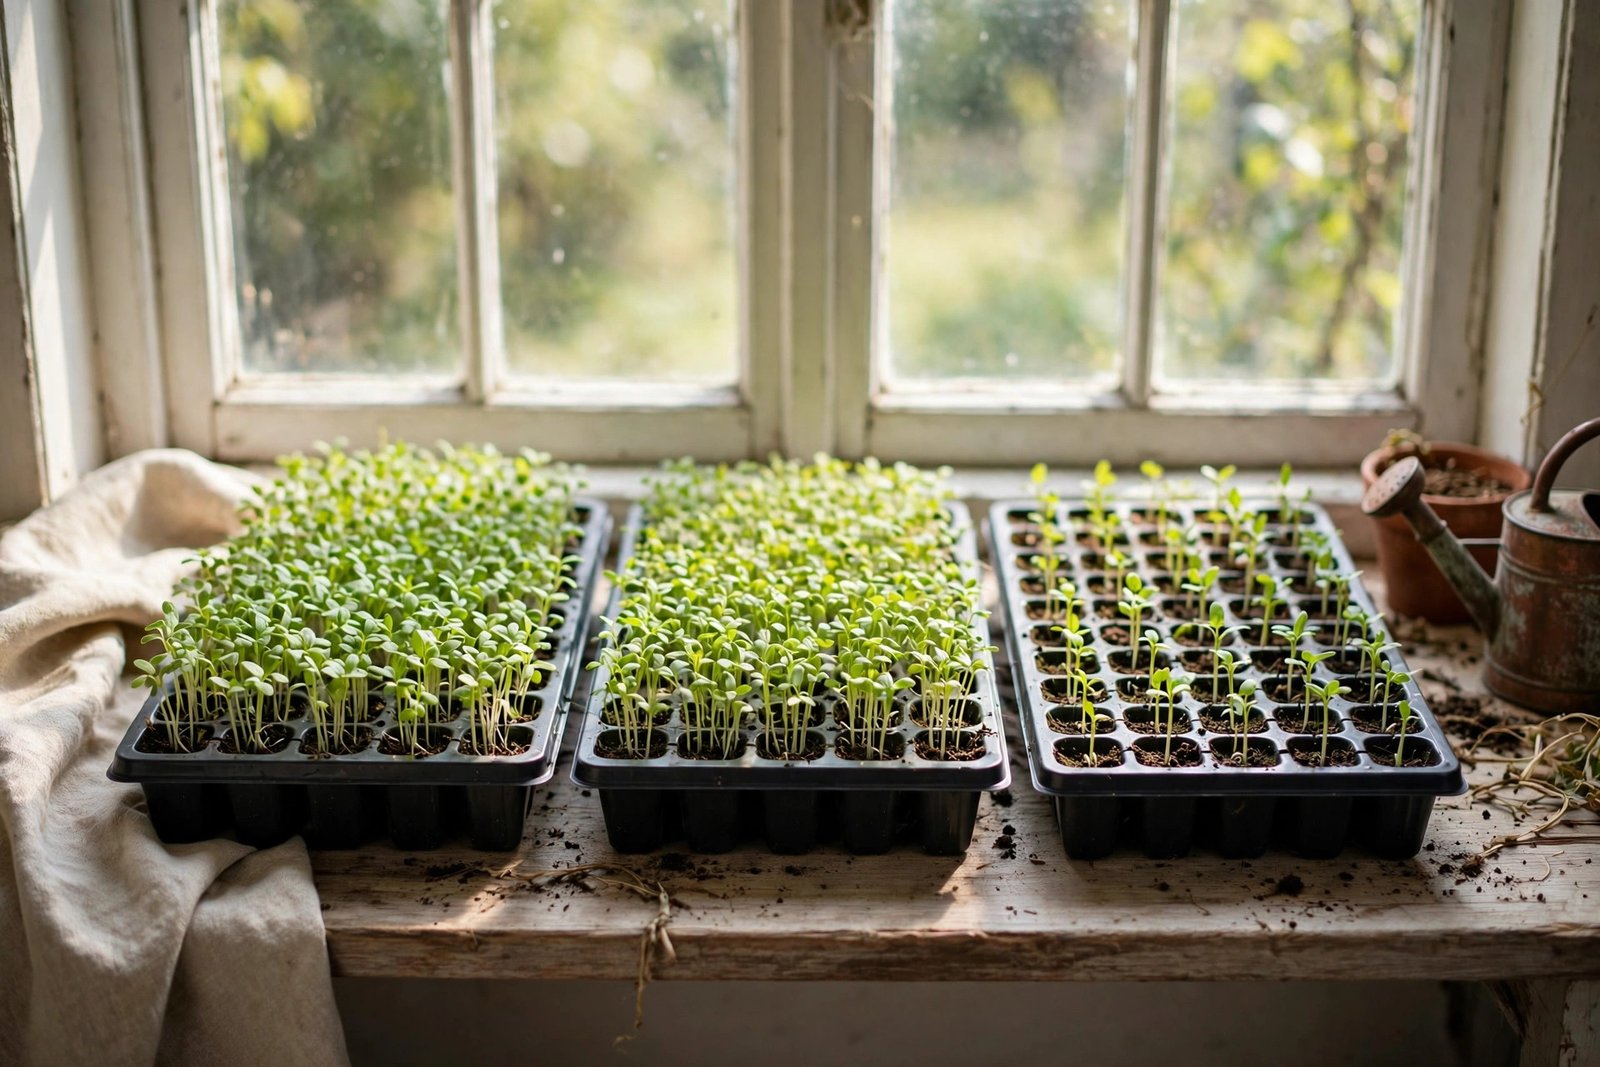
Starting seeds indoors gives you a head start on the growing season, healthier transplants, and access to varieties you’ll never find as nursery seedlings. But conventional wisdom says you need grow lights — expensive panels, timers, electricity. Here’s the truth: for many gardeners, a bright south-facing window plus a few clever techniques produces perfectly good seedlings. Grow lights are optimal, not mandatory.
This guide covers how to start seeds successfully without grow lights: maximizing natural light, the techniques that compensate, which seeds do best, and how to prevent the leggy seedlings that plague windowsill growers.
Light: Your Window Is Better Than You Think (With Caveats)
Seedlings need 12–16 hours of bright light daily. A large, unobstructed south-facing window (north-facing in the Southern Hemisphere) provides this in late winter/early spring — the key word is unobstructed: no sheer curtains, no overhanging eaves, no neighboring buildings. Clean the glass (dirty windows block surprising amounts of light) and place seedlings as close to the glass as possible without touching cold panes.
The caveats are real: window light is directional, so seedlings lean and stretch toward it — rotate trays 180° daily. Winter days are short, so supplement daylight hours by starting seeds a bit later (when days lengthen) rather than fighting December darkness. And windows are cold at night — move trays away from the glass on freezing nights or insulate with bubble wrap. East or west windows work for less demanding seedlings; north windows generally don’t suffice. The Old Farmer’s Almanac seed-starting guide includes timing charts by region.
Preventing Legginess: The Windowsill Grower’s Battle
Leggy seedlings — tall, pale, floppy stems — are the #1 windowsill problem, caused by insufficient light intensity. Prevention beats cure: sow at the right time (not too early — a seed started 4 weeks before last frost in good light outperforms one started 8 weeks early in dim light); keep lights close (seedlings within 2–3 inches of the window); run a fan — gentle air movement stresses stems just enough to grow stocky and strong (a small oscillating fan on low, a few hours daily, works wonders and also prevents damping-off disease).
Reflect light: line the back and sides of your growing area with aluminum foil or white poster board — this bounces light onto the shaded sides, dramatically reducing leaning and stretching. It’s the single highest-impact no-cost trick. Don’t over-fertilize: excess nitrogen pushes weak, leggy growth — wait until seedlings have true leaves, then feed at quarter strength. If seedlings do get leggy, transplant tomatoes deeper (they root along buried stems); for others, increase light immediately and accept some losses. Your beginner garden setup benefits from these same light-maximizing principles outdoors.
Soil, Water, and Warmth: The Other Half of Success
Light gets the attention, but germination is about warmth and moisture. Most seeds germinate best at 65–75°F — the top of a refrigerator or near (not on) a radiator provides bottom warmth that speeds germination dramatically. A simple seedling heat mat ($25) is the best cheap investment if you start many seeds — it does more for germination than any light upgrade. Use seed-starting mix (not garden soil, not potting mix — too dense and disease-prone); it’s sterile, fine-textured, and designed for tiny roots.
Water from the bottom: set trays in a shallow water bath and let the mix wick moisture up — top-watering displaces tiny seeds and encourages damping-off (the fungal disease that fells seedlings overnight). Cover trays with a humidity dome or plastic wrap until germination, then remove immediately — prolonged humidity after sprouting invites disease. Label everything; seedlings all look alike, and mystery trays are a rite of passage nobody enjoys twice. University extension services offer research-backed specifics — University of Minnesota Extension’s seed-starting resources are excellent regardless of your state.
Best Seeds for No-Light Starting (and Which to Skip)
Easiest without grow lights: tomatoes, peppers (start early — they’re slow), basil, lettuce, zinnias, marigolds, sunflowers, cucumbers, squash, beans. These germinate readily and tolerate windowsill conditions well. Needs more light than windows provide: onions from seed (very slow, very light-hungry), celery, and anything started in deep winter. Direct-sow instead: carrots, radishes, peas, corn — these resent transplanting anyway, so skip indoor starting entirely.
Work backward from your last frost date using seed packet “days to maturity” — most packets assume optimal conditions, so add 1–2 weeks for windowsill growing. Start small your first year: 2–3 varieties, one tray. Success with a few builds the skills and confidence for ambitious seed starting later. And remember the economics: a $3 seed packet producing 50 tomato seedlings replaces $150+ in nursery transplants. If the gardening bug bites hard, gardening as a relaxing hobby is where the joy lives.
Hardening Off: Don’t Skip This Step
Windowsill seedlings are soft — they’ve never felt real sun, wind, or temperature swings. Moving them directly outside causes transplant shock (wilting, sunburn, death). Harden off over 7–10 days: Day 1–2, 1–2 hours of shade outdoors; gradually increase sun exposure and duration; by day 7–10, they’re outside full-time. Bring them in if frost threatens or winds are brutal.
This step is non-negotiable and the most commonly skipped — more seedlings die from skipped hardening than from any indoor shortcoming. After transplanting, water deeply, mulch, and provide temporary shade for 2–3 days. Then watch them take off: properly hardened windowsill seedlings often outperform store-bought transplants within weeks, because they were raised in your conditions from day one.
Conclusion
Starting seeds without grow lights works beautifully with the right approach: maximum window light plus reflectors, daily rotation, a gentle fan for stocky stems, bottom warmth for germination, bottom-watering, and religious hardening off. You won’t match a professional light setup photon-for-photon — but you’ll grow strong, healthy seedlings for pennies, and that’s the whole point. Start with tomatoes and basil this year; expand your ambitions as your windowsills fill.
Frequently Asked Questions
How close should seedlings be to the window?
As close as possible without touching the glass — 2–3 inches is ideal. Cold glass can chill seedlings on freezing nights, so pull trays back a few inches overnight in winter, then push them forward each morning. Every inch farther from the window measurably reduces light intensity.
Why are my seedlings tall and floppy?
Insufficient light — they’re stretching toward what little light exists. Immediately increase light (move closer to window, add reflectors, start a fan for stem strength), and sow the next batch later when days are longer. For tomatoes, transplant deeper to compensate; most other leggy seedlings won’t fully recover.
Do I need a heat mat for seed starting?
Not strictly, but it’s the best $25 in seed starting — bottom warmth dramatically speeds and evens germination, especially for heat-lovers like peppers and tomatoes. Alternatives: the top of the fridge, near a radiator, or any consistently warm (70–75°F) spot. Once seeds sprout, remove from warmth — seedlings prefer cooler air (60–65°F).
When should I start seeds indoors?
Count backward from your area’s last frost date using each packet’s “weeks before last frost” guidance — typically 6–8 weeks for tomatoes/peppers, 4–6 for most flowers, 2–4 for cucurbits. Starting too early in weak light produces worse plants than starting later in strong light; when in doubt, wait a week.