
 By admin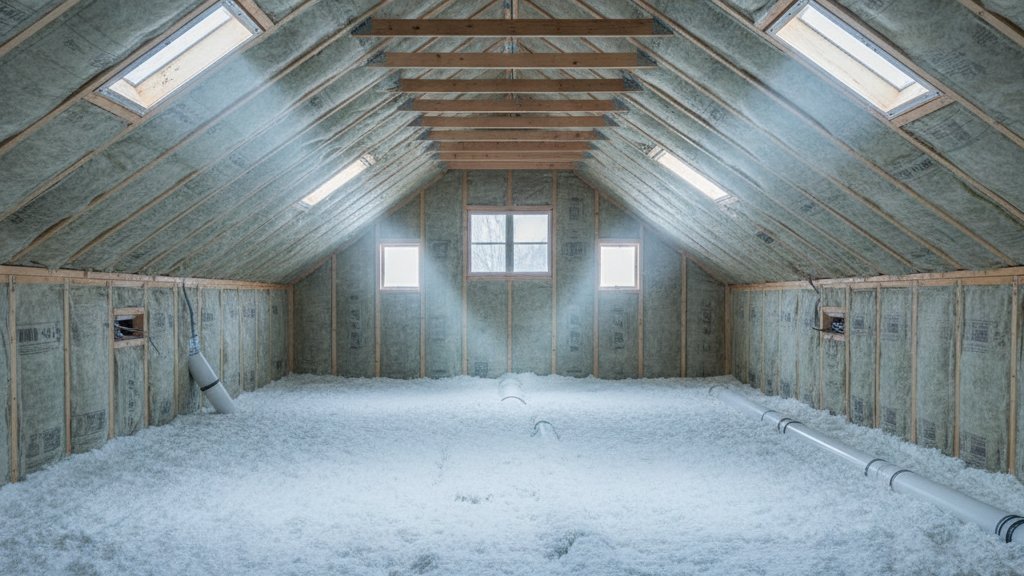
Your attic is the #1 source of energy waste in most homes. Heat rises, and in winter it pours straight through an under-insulated attic — the Department of Energy estimates proper attic insulation can cut heating and cooling costs by 15%. But stand in the insulation aisle and you’re facing fiberglass batts, blown cellulose, spray foam, and mineral wool, all claiming to be the answer. So what is the best type of insulation for an attic? It depends on your attic — but there’s a clear winner for most homes.
The Short Answer: Blown-In Cellulose or Fiberglass
For most attics, blown-in insulation (cellulose or fiberglass) is the best choice. It’s the best value, fills gaps and odd shapes completely, can be installed over existing insulation, and DIY-friendly with a rented blower. If I had to pick one recommendation for the average homeowner, this is it.
Attic Insulation Types Compared
Blown-in cellulose
- R-value: R-3.2 to R-3.8 per inch
- Cost: $1–$2/sq ft installed; $0.50–$1/sq ft DIY
- Pros: Excellent gap-filling, made from recycled paper (eco-friendly), good air-sealing properties, cheap. Settles slightly over time but installers account for this.
- Cons: Heavier than fiberglass (check ceiling can support it in older homes), can absorb moisture if roof leaks.
- Best for: Most attics — the default recommendation.
Blown-in fiberglass
- R-value: R-2.2 to R-2.7 per inch (needs more depth for same R-value)
- Cost: $1–$2/sq ft installed; similar DIY
- Pros: Doesn’t settle, moisture-resistant, non-combustible, lightweight.
- Cons: Lower R-value per inch means deeper fill needed; fibers are irritating to handle.
- Best for: Attics where moisture is a concern, or topping up existing fiberglass.
Fiberglass batts
- R-value: R-3.1 to R-3.4 per inch
- Cost: $0.50–$1.50/sq ft DIY; more installed
- Pros: Cheapest DIY option, no special equipment, easy to handle in open accessible attics.
- Cons: Gaps around obstacles kill performance — batts must fit perfectly or they underperform badly. Poor choice for attics with lots of wiring, pipes, or irregular joists.
- Best for: Simple, open attics with standard joist spacing and minimal obstructions — or as a first layer under blown-in.
Spray foam (open-cell and closed-cell)
- R-value: R-3.5/inch (open-cell), R-6.5/inch (closed-cell)
- Cost: $3–$8/sq ft installed — 3–5× the cost of blown-in
- Pros: Air-seals AND insulates in one step; highest R-value per inch; closed-cell adds structural strength and moisture barrier.
- Cons: Expensive, must be professionally installed, can trap roof leaks (hiding damage), some formulations have environmental concerns.
- Best for: Attics being converted to conditioned space, roof decks in hot climates, or where maximum R-value in minimum depth is needed.
Mineral wool (rockwool)
- R-value: R-3.0 to R-3.3 per inch
- Cost: $1.50–$3/sq ft
- Pros: Fire-resistant, water-resistant, excellent sound dampening, easy to cut and fit.
- Cons: Pricier than fiberglass batts, heavier.
- Best for: Homeowners prioritizing fire safety and sound control.
How Much Insulation Do You Need?
The DOE recommends R-38 to R-60 for attics in most US climate zones — that’s roughly 12–20 inches of blown-in insulation depending on material. Most older homes have far less. Measure your current depth: if you can see the joists, you’re under-insulated, full stop.
Use the DOE’s insulation guide to find the recommended R-value for your specific zip code — it varies by climate zone.
Air Seal BEFORE You Insulate
This is the step that separates good results from disappointing ones: insulation slows heat transfer, but it doesn’t stop air leaks. Before adding insulation, seal gaps around plumbing vents, electrical boxes, recessed lights (use rated covers), the attic hatch, and top plates with caulk or expanding foam. Air sealing plus insulation delivers dramatically better results than insulation alone — and air sealing is cheap.
DIY or Hire Out?
Blown-in insulation is very DIY-able: home improvement stores lend the blower free with a minimum insulation purchase (usually 10+ bags). Two people can do an average attic in a day — one feeding the machine, one in the attic directing the hose. Wear full protective gear: respirator, goggles, coveralls, gloves. The $500–$800 you save vs. professional installation is real money.
Hire out for: spray foam (always pro), attics with vermiculite insulation (possible asbestos — test first), or if you physically can’t work safely in the space.
Don’t Forget Ventilation
Insulation without ventilation causes moisture problems. Make sure soffit vents aren’t blocked by the new insulation — use baffles (rafter vents) to maintain airflow from soffit to ridge vent. This is a common DIY mistake that leads to mold.
Attic insulation pairs well with the other efficiency upgrades in our guide to making your home more energy efficient — insulation is the foundation, but air sealing, windows, and HVAC all play roles.
Insulation and Your Energy Bills: Real Numbers
What does attic insulation actually save? The DOE estimates proper attic insulation cuts heating and cooling costs by about 15% on average — but the range is wide:
- Under-insulated older home (R-11 or less) → R-49: often 20–30% heating/cooling savings. A home spending $2,400/year on heating/cooling saves $480–$720/year. Payback on a $800 DIY job: just over a year.
- Moderately insulated (R-19) → R-49: 10–15% savings. Still worthwhile, longer payback (3–5 years).
- Already at R-30 → R-49: marginal gains — maybe 5%. Do it if you’re already up there for another reason, but don’t expect dramatic bill changes.
The comfort dividend: the bill savings understate the value. Properly insulated attics eliminate the upstairs-is-a-sauna-in-summer and freezing-in-winter problem that no thermostat setting fixes. Bedrooms become actually comfortable. That comfort improvement — hard to put a dollar figure on — is what most homeowners mention first when asked if it was worth it, ahead of the bill savings.
Utility rebates: check before buying materials. Many utilities rebate $200–$500 for attic insulation upgrades, and some offer free energy audits that include blower-door testing to quantify your specific leaks. The audit alone is worth doing — it tells you whether insulation, air sealing, or something else is your biggest opportunity.
Insulation plus a smart thermostat is the classic one-two punch — read our analysis of whether a smart thermostat is worth installing to complete the efficiency picture.
The Bottom Line
What is the best type of insulation for an attic? Blown-in cellulose for most homes — best value, fills every gap, DIY-friendly, eco-friendly. Blown-in fiberglass if moisture is a concern. Batts only for simple open attics. Spray foam when you’re conditioning the space or need maximum R-value per inch. Whatever you choose: air seal first, hit R-38 minimum (R-49+ in cold climates), don’t block ventilation, and measure before assuming you have enough. It’s the highest-ROI energy project in the house.