
 By admin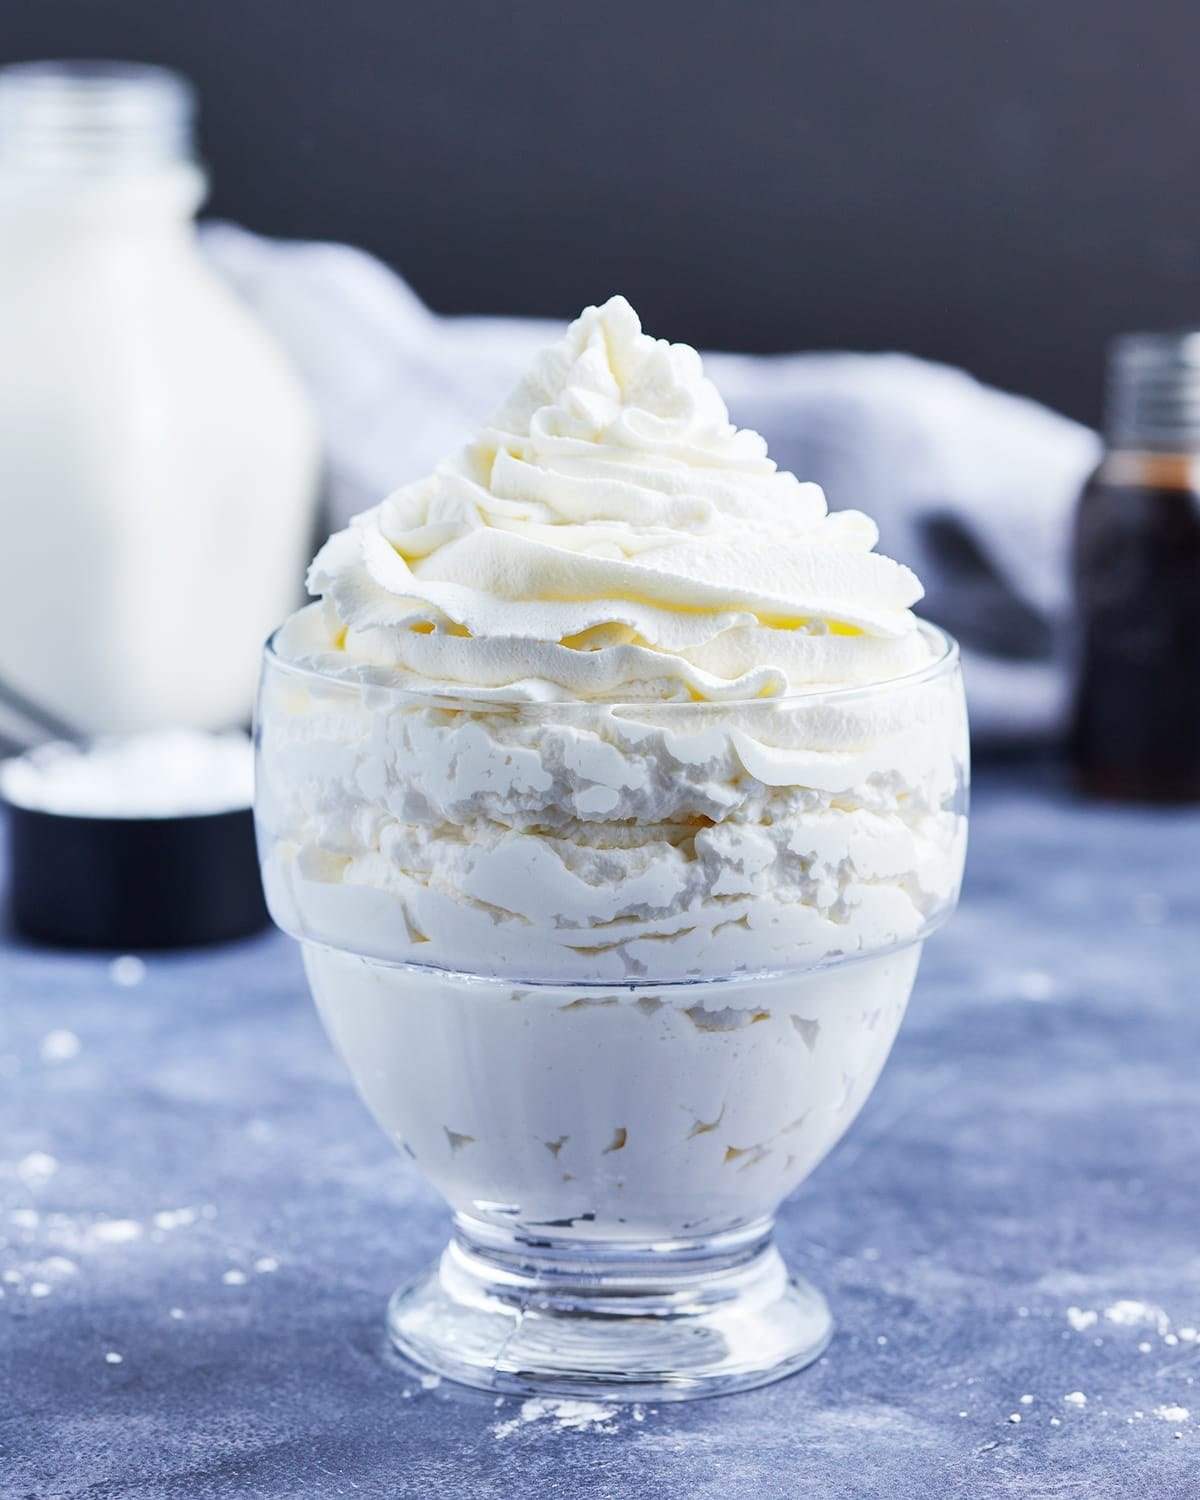
Homemade whipped cream is one of those things that takes three minutes and makes you wonder why you ever bought the canned stuff. The difference isn’t subtle — real whipped cream is pillowy, rich, and delicately sweet, while the canned version tastes like sweetened air with a chemical aftertaste. Once you’ve had the real thing on pie, hot chocolate, or fresh berries, there’s no going back. I make it so often I could do it in my sleep, and you will too after reading this.
Here’s the entire ingredient list: heavy cream, sugar, vanilla. That’s it. The technique is where the magic happens.
The Basics: What You Need
- 1 cup heavy whipping cream (must say “heavy” — light cream and half-and-half won’t whip; you need at least 36% fat)
- 2 tablespoons powdered sugar (dissolves instantly; granulated sugar can taste gritty)
- 1/2 teaspoon vanilla extract
Cold is everything. Cold cream, cold bowl, cold beaters. Fat whips best when it’s cold and firm — warm cream takes twice as long and never reaches full volume. I stick my mixing bowl and beaters in the freezer for 10 to 15 minutes before starting. In summer, I’ll even nest the bowl in a larger bowl of ice water. This isn’t fussy-chef behavior; it’s the difference between whipped cream in 2 minutes and a sad, soupy 8-minute struggle.
The Method (3 Minutes)
- Pour the cold cream into the cold bowl.
- Beat on medium-high speed. After about 30 seconds, it’ll get foamy. After a minute, soft ripples form.
- Add the powdered sugar and vanilla once it starts thickening (adding sugar at the start can inhibit whipping slightly).
- Keep beating and watch closely. You’re looking for medium-firm peaks: when you lift the beaters, the cream holds a peak that curls slightly at the tip. This takes 2 to 3 minutes total with a hand mixer.
- Stop. Seriously, stop now.
The Stages (and How to Not Ruin It)
Whipped cream goes through distinct stages, and the window between perfect and ruined is about 30 seconds:
- Soft peaks: Peaks flop over when you lift the beaters. Perfect for folding into mousse or topping hot chocolate — light and billowy.
- Medium-firm peaks: Peaks hold but the tips curl. The all-purpose sweet spot for topping pies, cakes, and berries.
- Stiff peaks: Peaks stand straight up. Good for piping decorations, but a step away from…
- Overwhipped: Grainy, curdled-looking, starting to separate. You’ve made the first stage of butter. (Don’t throw it out! Keep beating and add a pinch of salt — congratulations, you made sweet butter. Spread it on toast.)
The fix for slightly overwhipped cream: add a tablespoon or two of unwhipped cold cream and gently fold it in by hand. It won’t be perfect, but it’ll smooth out considerably. Prevention beats cure, though — when in doubt, stop early. You can always whip 15 seconds more; you can’t un-whip.
Stabilized Whipped Cream (Make It Last)
Regular whipped cream starts weeping and deflating after a few hours — fine if you’re serving immediately, annoying if you’re making dessert ahead. Stabilized whipped cream holds for 2 to 3 days in the fridge. Three methods:
- Cream cheese method (my favorite): Beat 2 tablespoons of softened cream cheese with the sugar until smooth, then add the cream and whip normally. Adds a barely-there tang and incredible stability. Perfect for frostings and make-ahead desserts.
- Powdered gelatin: Bloom 1 teaspoon gelatin in 1 tablespoon cold water, melt gently, cool slightly, and drizzle in while whipping. The most stable option — holds piped decorations for days.
- Mascarpone: Replace 1/4 of the cream with mascarpone cheese. Luxuriously rich and very stable. This is what fancy bakeries use.
Flavor Variations
Once you’ve mastered the base, the variations are endless:
- Chocolate: Add 2 tablespoons cocoa powder with the sugar
- Coffee: Add 1 teaspoon instant espresso powder
- Citrus: Add 1 teaspoon lemon or orange zest
- Boozy: Add 1 tablespoon bourbon, rum, or Baileys (reduce vanilla slightly)
- Spiced: Add 1/4 teaspoon cinnamon + a pinch of nutmeg — perfect for fall pies
- Almond: Swap vanilla for 1/4 teaspoon almond extract (it’s potent — less is more)
What to Put It On
The obvious: pie (especially pumpkin and pecan), eggless chocolate cake, fresh berries, hot chocolate, ice cream sundaes. The less obvious: fold it into three-ingredient chocolate mousse for extra lightness, dollop it on overnight oats for a dessert-for-breakfast moment, or serve it alongside warm soft-baked cookies. Honestly, there’s no wrong answer here.
Make Homemade Whipped Cream: Quick Answers
Why won’t my cream whip? Three usual causes: the cream isn’t heavy enough (needs 36%+ fat — “heavy whipping cream,” not light cream or half-and-half), everything’s too warm (chill the bowl, beaters, and cream), or you’re under-whipping out of fear. Cold + patience solves 90% of failures.
How do I know when to stop whipping? Watch for medium-firm peaks: lift the beaters and the cream holds a peak with a slightly curling tip. The window between perfect and overwhipped is about 30 seconds — when in doubt, stop early. You can always whip 15 seconds more; you can’t un-whip.
Can I make whipped cream ahead of time? Yes — stabilize it. Beat 2 tablespoons of softened cream cheese with the sugar first, then add cream and whip normally. Stabilized whipped cream holds 2-3 days refrigerated; regular whipped cream weeps within hours.
What can I do with overwhipped cream? Don’t throw it out — keep beating and add a pinch of salt: congratulations, you made sweet butter. Or rescue slightly grainy cream by folding in a tablespoon or two of unwhipped cold cream by hand. It won’t be perfect, but it’ll be close.
Dairy handling basics are covered at FoodSafety.gov.
Practical Takeaway
Homemade whipped cream = 1 cup cold heavy cream + 2 tablespoons powdered sugar + 1/2 teaspoon vanilla, beaten 2 to 3 minutes in a chilled bowl until medium-firm peaks. Stop before it goes grainy. Stabilize with cream cheese if making ahead. Three minutes of effort for something dramatically better than anything from a can — this is the easiest upgrade in all of dessert-making.