
 By admin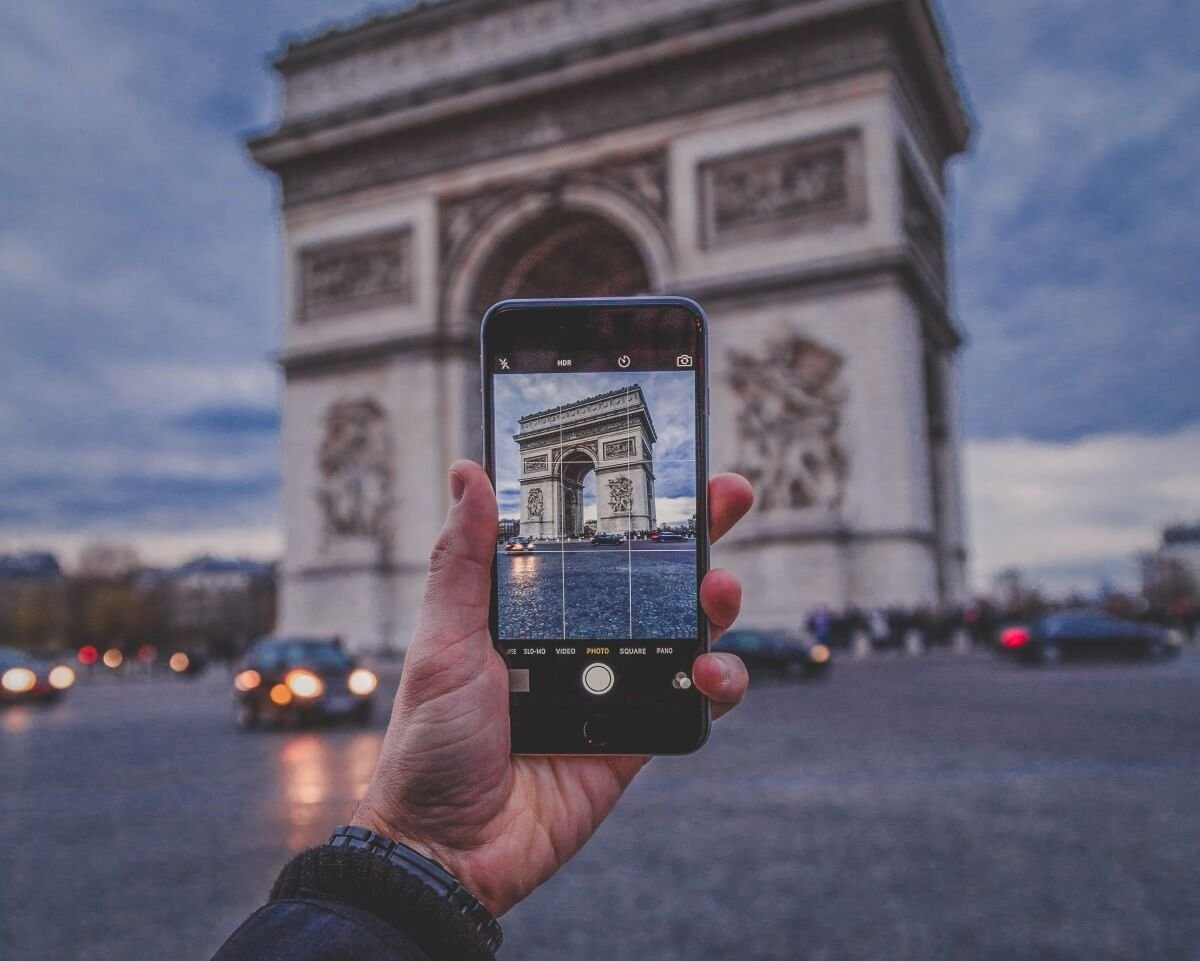
Here’s an uncomfortable truth: the phone in your pocket takes better photos than the expensive camera most tourists lug around. Phone cameras have gotten so good that the difference between a forgettable snapshot and a frame-worthy travel photo isn’t gear — it’s technique. I’ve shot travel stories entirely on a phone, and nobody could tell.
If you’re wondering how to take better travel photos with your phone, you don’t need new equipment. You need about a dozen habits that take seconds each. Let’s go through them.
Clean Your Lens (Seriously)
This is the single most impactful tip and the one everyone ignores. Your phone lives in pockets and purses, collecting fingerprints and lint. A quick wipe on your shirt before shooting can be the difference between a hazy mess and a crisp image. Make it a reflex: pull out phone, wipe lens, shoot.
Master Light Before Anything Else
Photography is light, full stop. The best camera technique in the world can’t fix bad light, and great light forgives almost everything else.
Shoot during golden hour
The hour after sunrise and the hour before sunset produce warm, directional light that makes everything look better — landscapes, architecture, street scenes, people. Midday sun creates harsh shadows and washed-out colors. If you can only change one thing about your travel photography, change when you shoot.
Learn to love overcast days
Cloudy skies are nature’s softbox. Colors pop, portraits look flattering, and you can shoot all day without harsh shadows. Some of my favorite travel photos were taken on gray days everyone else complained about.
Work with backlight deliberately
When the sun is behind your subject, tap on the subject on your screen to set exposure for them (most phones let you lock exposure by long-pressing). You’ll get dramatic silhouettes or glowing rim light instead of a dark blob.
Composition Habits That Change Everything
Use the rule of thirds
Turn on your camera’s grid lines (it’s in settings on both iPhone and Android). Place key elements along the grid lines or at their intersections instead of dead center. Horizons go on the upper or lower third line — never the middle. This one change instantly makes photos look more intentional.
Get low or get close
Most tourist photos are taken from standing eye height, which is why they all look the same. Crouch down for architecture, get close for details, shoot through foreground objects (leaves, doorways, crowds) for depth. Different angles create different photos of the same scene.
Include people for scale
A photo of a cathedral is nice. A photo of a cathedral with a tiny person in front of it communicates awe. Ask a travel companion to stand in frame, or wait for a stranger to walk into the shot. This is especially powerful for landscapes and massive architecture.
Phone-Specific Tricks
- Tap to focus, then adjust exposure. After tapping, slide the sun icon up or down to fine-tune brightness. This beats letting the phone guess.
- Use burst mode for action. Hold the shutter for street scenes, waves, or kids — then pick the best frame later.
- Try the wide and telephoto lenses if your phone has them. The 0.5x ultra-wide is fantastic for tight interiors and dramatic landscapes.
- Shoot in RAW (ProRAW on iPhone, RAW in Android pro modes) for important shots — it gives you far more editing flexibility.
- Turn off the flash. Phone flash ruins more photos than it saves. In low light, brace the phone against something solid instead.
Editing: Less Is More
Every phone now has capable built-in editing. The 80/20 of phone photo editing:
- Straighten the horizon (crooked horizons scream “amateur”)
- Bump up shadows slightly and pull down highlights
- Add a touch of saturation and warmth — but stop before it looks fake
- Crop out distractions at the edges
Apps like Snapseed (free) or Lightroom Mobile give you more control when you want it. But honestly, the built-in editor handles 90% of travel photos. If you’re documenting a big trip — say a multi-city Europe itinerary — consistent light editing across your photos makes the whole album feel cohesive.
Backup Before You Lose Them
This isn’t a photography tip, it’s a heartbreak-prevention tip. Turn on automatic cloud backup (iCloud or Google Photos) before the trip. Phones get lost, stolen, and dropped in canals — I’d hate for your best shots to vanish with the device. A little redundant backup is also smart if you’re planning a long road trip through areas with spotty service; let uploads catch up on hotel WiFi each night.
Google’s own Google Photos help pages walk through backup settings if you haven’t set them up, and Apple’s iPhone camera guides cover the pro features on newer models.
Editing Workflow: From Shot to Share in 2 Minutes
Taking the photo is half the job. A quick, consistent edit is what makes phone photos look professional. Here’s the 2-minute workflow I use on every travel photo worth keeping:
- Straighten and crop first. Fix the horizon, then crop out edge distractions — trash cans, strangers’ elbows, half a sign. Composition problems are cheapest to fix here.
- Adjust exposure. Most phone photos benefit from slightly lifting shadows and pulling down highlights. You’re recovering detail, not creating drama.
- White balance check. If the photo looks too orange (indoor lighting) or too blue (shade), nudge the temperature slider until whites look white.
- Small saturation and vibrance bump. Vibrance (which boosts muted colors) usually looks more natural than saturation. Go easy — if you can tell it’s edited, you’ve gone too far.
- Selective edits for the hero shots. For your best 2–3 photos per day, use selective adjustments: brighten just the subject’s face, darken a distracting bright sky area, or add clarity to architecture. This is where good becomes great.
Save a consistent style as a preset (Lightroom Mobile lets you create them free) and apply it across the trip — cohesive albums look dramatically more professional than individually “optimized” photos with clashing styles. And always keep the originals: edit on copies or use non-destructive editors so you can re-edit later as your taste improves.
The Bottom Line
How to take better travel photos with your phone comes down to clean glass, good light, deliberate composition, and light editing. None of it requires new gear or real skill — just habits. Start with golden hour and the rule of thirds, and your next trip’s photos will look like someone else took them. Someone with a much more expensive camera.