
 By admin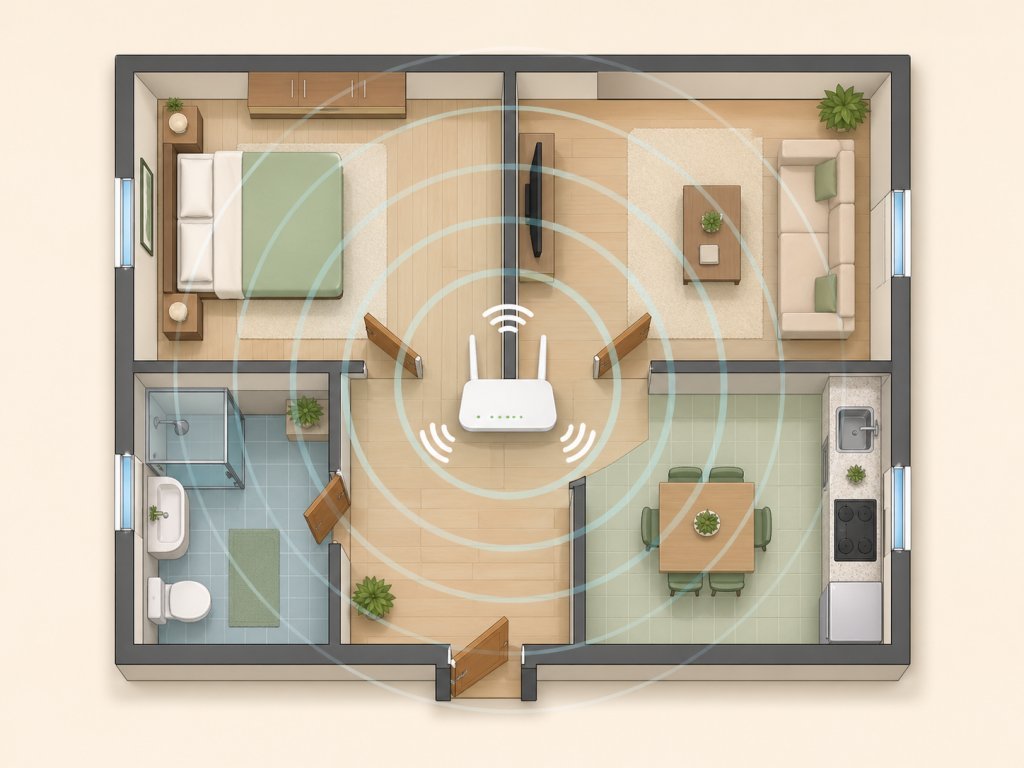
The router sits in the living room, and downstairs everything flies. But upstairs? Your bedroom is a dead zone, video calls freeze, and Netflix buffers endlessly. Upstairs WiFi problems are the most common home networking complaint, and the physics behind them explains both the problem and the fix. Here’s everything that actually works, from free tweaks to the nuclear option.
How can I improve my home wifi signal in upstairs rooms?
WiFi signals radiate outward and slightly downward from your router’s antennas — they don’t beam straight up through the ceiling efficiently. Add the building materials in your floor/ceiling assembly (wood joists, insulation, electrical wiring, and especially metal ductwork), and the signal reaching upstairs can be half as strong before it even deals with distance. If your router is tucked in a basement or behind the TV in a media cabinet, upstairs doesn’t stand a chance. Understanding this is useful because every fix below is about defeating physics, not magic.
Free Fix #1: Move the Router
This costs nothing and helps more than any gadget. Get the router as central and elevated as possible — ideally on the main floor, on a shelf (not the floor), away from walls. If your internet enters the house in a corner basement (thanks, cable companies), that’s the worst possible spot for upstairs coverage. Even moving the router from the basement to the first floor can double upstairs speeds. If the modem has to stay where the cable comes in, you can run a long Ethernet cable to relocate just the router — a 50-foot cable costs $12 and it’s the highest-ROI upgrade in home networking.
Also: point the antennas correctly. On routers with adjustable antennas, position one vertically and one horizontally — WiFi signals propagate perpendicular to the antenna, so mixed orientations cover both floors better than all-vertical.
Free Fix #2: Switch Bands and Channels
If your laptop or phone is clinging to 2.4 GHz upstairs, speeds will crawl — that band is slow but long-range, while 5 GHz is fast but dies through floors. The trick: many routers let you give the 5 GHz network a separate name (like “HomeWiFi-5G”), so you can manually choose per device. Upstairs devices that are relatively close (directly above the router) often do great on 5 GHz; distant ones do better on 2.4 GHz. Also switch to a less congested channel — our guide on fixing slow laptop WiFi explains how to find the clearest channel in your area.
The $30–$80 Fix: Range Extenders (With Caveats)
WiFi extenders rebroadcast your router’s signal further. They work, but with an honest caveat: traditional extenders cut your bandwidth roughly in half because they use the same radio to talk to both the router and your device. For browsing and streaming in a bedroom, that’s usually fine. Placement is everything — put the extender halfway between the router and the dead zone (at the bottom of the stairs, not in the dead zone itself; it can’t amplify a signal it can’t hear). Modern “mesh-style” extenders from the same brand as your router perform better than generic ones. The Wi-Fi Alliance notes that EasyMesh-certified extenders from different brands can now work together, which helps avoid the old compatibility headaches.
The $150–$300 Fix: Mesh WiFi (The Real Solution)
If extenders feel like a band-aid, mesh is the cure. Systems like Eero, Google Nest Wifi, TP-Link Deco, and Netgear Orbi use multiple nodes that blanket your home in one seamless network — your devices roam between nodes automatically with no speed-halving penalty. Place one node on each floor and dead zones basically disappear. Setup takes 15 minutes via a phone app, and the apps show you signal strength per node so you can optimize placement. For two-story homes over 1,500 square feet, this is the fix I’d recommend to family without hesitation. It’s also the answer if you’re wondering about newer standards — see our WiFi 6 vs. 6E breakdown before buying.
The Enthusiast Fix: Wired Access Points
The gold standard: run an Ethernet cable upstairs (through walls, along baseboards, or via existing coax with MoCA adapters) and connect a second access point or old router in access-point mode. Wired backhaul means the upstairs access point delivers full speed — no wireless repeating penalties at all. MoCA adapters ($60–$80 per pair) send Ethernet-speed data over your home’s existing coaxial cable wiring, which is a lifesaver in houses where running new cable is impractical. Powerline adapters (Ethernet over electrical wiring) are the budget version — they work, but speeds vary wildly depending on your home’s wiring quality.
What About the Router Itself?
If your router is 6+ years old, no placement trick will save it — older routers lack the range, device capacity, and band-steering smarts of modern ones. A current $100–$150 WiFi 6 router often outperforms a 2018 flagship. Check your router’s age before spending on extenders or mesh; sometimes the router is the bottleneck. And if the router’s lights are doing something strange, check what a blinking red router light means — you might have a failing unit rather than a coverage problem. The FCC’s broadband guide is also worth a look to make sure your plan speed matches your household’s needs.
Don’t Overlook the Obvious Signal Killers
A few household items murder WiFi signal and nobody suspects them: mirrors (the metal backing reflects signal), fish tanks (water absorbs 2.4 GHz remarkably well), and metal filing cabinets or appliances between the router and upstairs. Baby monitors and old cordless phones squat directly on the 2.4 GHz band. If your router sits behind the TV, the TV’s metal shielding eats signal too. A five-minute audit — “what’s between my router and upstairs?” — sometimes reveals the whole problem. Moving the router six feet away from a mirror or out from behind the TV has fixed “dead zones” that people suffered with for years.
The Bottom Line
Start free: move the router central and elevated, optimize bands and channels. If that doesn’t cut it, a well-placed extender ($30–$80) fixes single dead zones, while a mesh system ($150–$300) is the proper whole-home solution. And if your internet plan itself is the bottleneck, no WiFi gear on earth will help — test wired speeds first.
[…] times of day. If wired speeds are solid but WiFi stutters, upgrade your WiFi setup (see our upstairs WiFi guide) instead of your plan. And if your laptop specifically is slow on WiFi, check why laptop WiFi lags […]