
 By admin
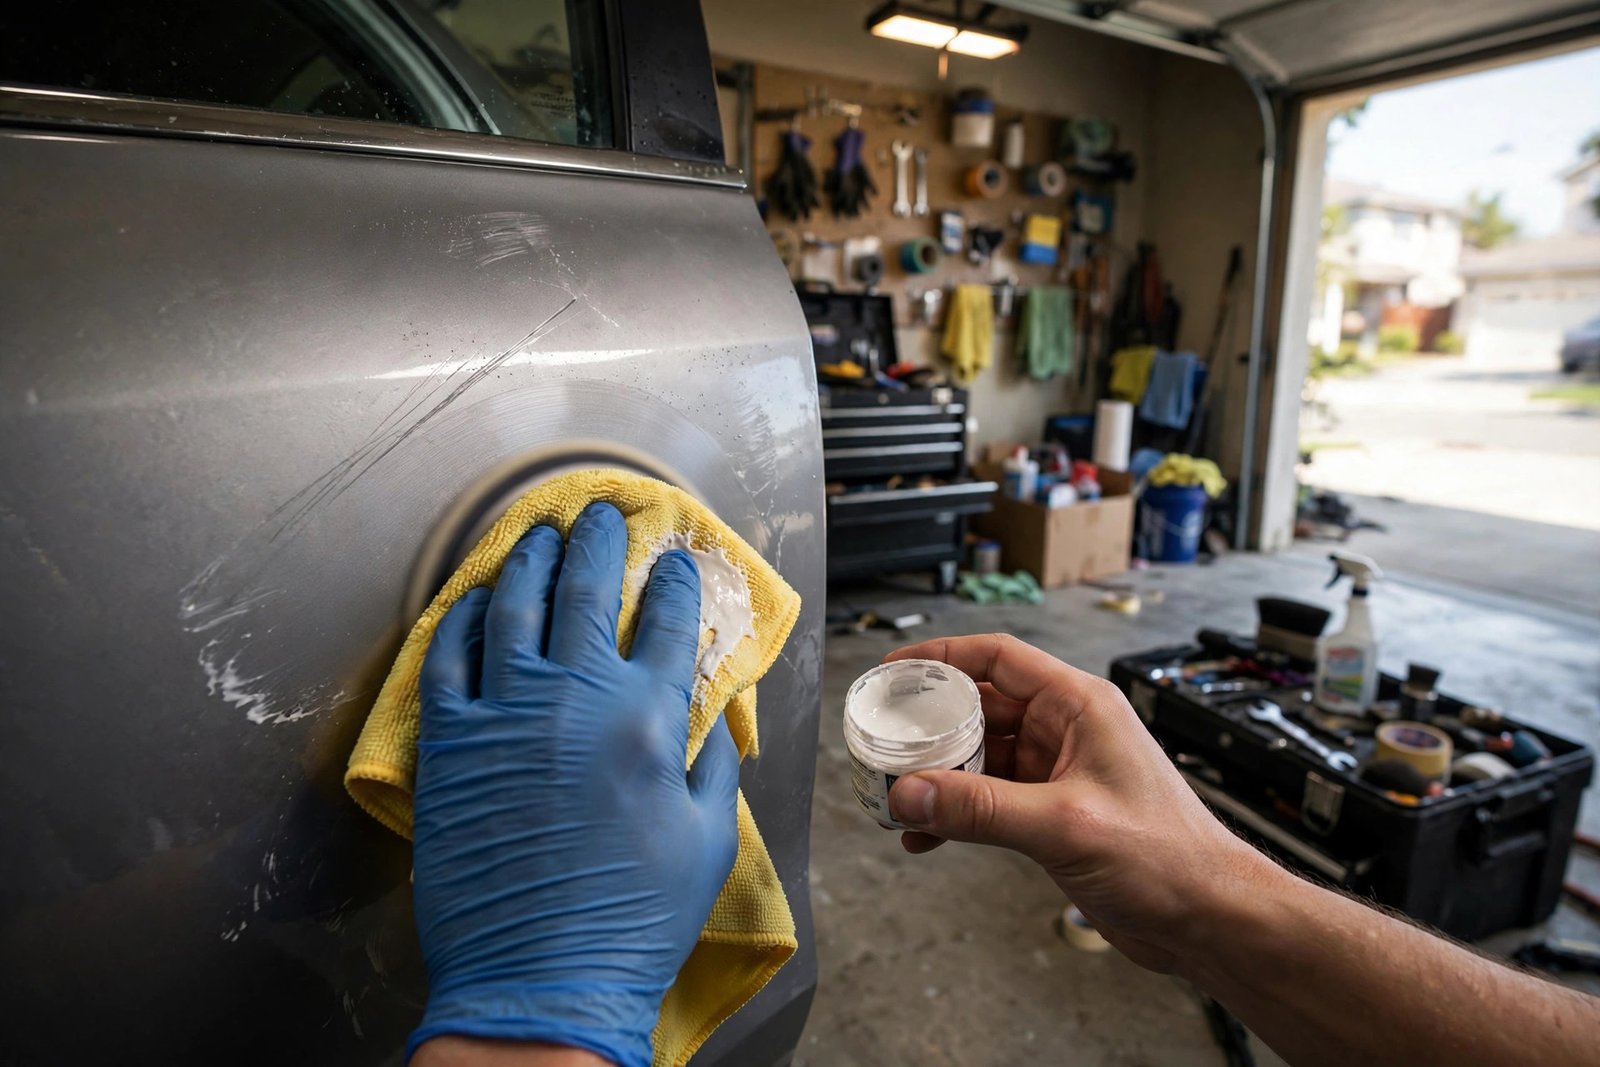
Somewhere between the car wash and the parking lot, it happened — a shopping cart, a careless door, a brush with the garage wall — and now there’s a scratch marring your car’s finish. The body shop quotes $400 for what looks like a minor scuff. Before you pay, know this: roughly 70% of visible scratches are clear-coat deep or shallower, meaning they can be dramatically improved or fully removed at home for under $30 in supplies. The trick is correctly diagnosing the scratch depth, because each depth has its own fix — and using the wrong method either wastes your time or makes things worse.
Here’s how to remove scratches from your car at home cheaply: the fingernail test that diagnoses depth, the right fix for each level, the products that actually work, and the mistakes that turn a $20 DIY into a $400 body shop visit.
Step 1: Diagnose the Depth (The Fingernail Test)
Run your fingernail gently across the scratch. Your car’s finish has four layers: clear coat (transparent protective layer), color coat (the actual paint), primer (gray/white bonding layer), and metal. The test tells you how deep the damage goes:
Level 1 — Clear coat scratch: your nail doesn’t catch at all; the scratch looks like a whitish haze. The damage is only in the transparent top layer. Easiest fix — often fully removable.
Level 2 — Color coat scratch: your nail catches slightly; you see the car’s color in the scratch but no primer or metal. Fixable at home with touch-up paint and patience.
Level 3 — Primer scratch: your nail catches firmly; you see gray or white primer. Home repair possible with touch-up paint, but perfection is unlikely — the goal is making it invisible from 5 feet, not concours-ready.
Level 4 — Metal exposed: you see bare metal (often already rusting). This needs prompt attention to prevent rust spread — touch-up paint seals it, but deep or long scratches merit professional repair.
Level 1: Clear Coat Scratches (The $15 Fix)
These respond beautifully to polishing. Wash and dry the area thoroughly (polishing over dirt grinds it in). Apply a rubbing compound or scratch remover (Meguiar’s ScratchX, Turtle Wax Scratch Repair — $10–$15) with a microfiber cloth, working in small circular motions with moderate pressure. The compound’s fine abrasives level the clear coat around the scratch, effectively erasing it. Wipe clean, inspect, repeat if needed. Follow with a polishing compound for clarity, then wax the area to restore protection.
For slightly deeper clear-coat scratches, wet sanding with ultra-fine sandpaper (3000-grit, kept soaking wet) levels the area before compounding — but this removes clear coat permanently, so use minimal pressure and stop the moment the scratch disappears. When in doubt, skip the sandpaper; compounding alone handles most Level 1 damage safely.
Level 2–3: Paint Scratches (The $25 Touch-Up)
When color or primer shows, you need paint. Get your exact color code (driver’s door jamb sticker or VIN lookup) and buy factory-matched touch-up paint — dealer touch-up bottles ($15–$25) or reputable online suppliers (AutomotiveTouchup, Dr. ColorChip). Generic “close enough” colors are visible from across the parking lot; exact matches disappear.
The process: clean the scratch with isopropyl alcohol; for primer-level scratches, apply thin primer first and let cure; apply color in thin layers with the bottle’s brush or a fine artist’s brush — multiple thin coats beat one thick blob (patience is the entire skill here); let each coat dry fully; apply clear coat over the repair; after 48 hours, wet-sand the blob flush with 3000-grit (optional, for perfectionists), compound, polish, and wax. The Dr. ColorChip-style systems ($40–$60 kits) simplify this with blob-removal solutions that make amateur results look surprisingly professional.
Set realistic expectations: touch-up repairs are invisible from 5+ feet and in most lighting — which is all that matters for daily driving. Show-car perfection requires professional respraying ($300–$600 per panel).
Level 4: Down to Metal (Stop the Rust First)
Exposed metal oxidizes fast — surface rust can start within days in humid climates. Priority one is sealing it: sand the rust with fine sandpaper until clean metal shows, apply rust converter if pitting remains, then primer, color, and clear coat as above. For scratches longer than 6 inches or in highly visible areas (hood center, door middle), get a body shop quote — large-area touch-up rarely looks right, and professional spot repair ($200–$400) beats a conspicuous DIY.
Prevention after repair: keep the car waxed (wax is sacrificial protection for the clear coat), address chips immediately before they rust, and consider paint protection film on high-impact areas (front bumper, hood edge) if you’re prone to road debris damage.
Products That Work vs. Marketing Hype
Worth buying: dual-action polisher ($60–$100 — transforms results versus hand polishing for larger areas), quality microfiber cloths (cheap ones scratch), factory-matched touch-up paint, rubbing compound and polishing compound (separate products — compound cuts, polish refines), and carnauba or synthetic wax for final protection.
Skip: “miracle” scratch pens (they’re just clear coat in a pen — useless on anything past Level 1), colored waxes (temporary cover that washes off), and toothpaste (the internet’s favorite hack — it’s a mild abrasive that works poorly and risks hazing the clear coat; proper compound costs the same and works 10x better). The Consumer Reports auto care testing consistently shows dedicated automotive compounds outperforming household hacks by wide margins.
Mistakes That Make It Worse
Polishing in direct sunlight (products dry too fast and haze); using dirty cloths (grinding grit into the finish); over-sanding (burning through clear coat creates a dull spot worse than the scratch); applying touch-up paint too thickly (blobs are more visible than the original scratch); skipping wax after repair (unprotected clear coat oxidizes); and attempting DIY on deep scratches across body lines or panel edges (these areas defeat amateur techniques — pay the professional). When your DIY repair looks worse than the scratch, stop — a body shop can fix a bad touch-up, but each layer of amateur work makes their job harder and pricier.
For broader paint maintenance that prevents scratches in the first place, proper washing technique (two-bucket method, grit guards) matters more than any repair product. And if your car’s finish has multiple issues beyond scratches — oxidation, fading — our garage organization guide helps you set up a proper DIY detailing space so maintenance actually happens.
Conclusion
Most car scratches are clear-coat deep and vanish with $15 of compound and 20 minutes of polishing. Deeper scratches need factory-matched touch-up paint applied in thin, patient layers — invisible from five feet, which is the standard that matters. Only long, deep, or highly visible damage justifies the body shop’s $300–$600. Diagnose with the fingernail test, match the method to the depth, buy the right $25 in supplies instead of the wrong $15 hack, and know when to stop. Your car’s finish is more forgiving than the body shop’s quote suggests — most scratches are a Saturday morning project, not a financial event.
The same care-and-maintenance mindset applies everywhere — our guide to caring for leather boots teaches the test-in-a-hidden-spot discipline, and AAA’s car-care resources add professional detailing guidance.
Frequently Asked Questions
Can WD-40 remove car scratches?
Temporarily — it fills the scratch and makes it less visible for a few days, then washes off. It’s a cosmetic trick, not a repair. Proper compounding actually levels the clear coat for a permanent fix at similar cost and effort.
How much does it cost to fix a car scratch professionally?
$150–$300 for paintless/bumper spot repair; $300–$600 per panel for professional respraying. Deep scratches requiring bodywork run higher. Most Level 1–2 scratches don’t need professional repair at all.
Will a scratch rust if I don’t fix it?
Only if it penetrates to bare metal. Clear-coat and color-coat scratches won’t rust — they’re cosmetic. But any scratch showing metal should be sealed promptly; surface rust begins within days in humid conditions.
Does toothpaste really remove scratches?
Marginally — it’s a very mild abrasive that can slightly reduce ultra-fine clear-coat hazing. Dedicated scratch-removal compounds cost the same, work far better, and don’t risk the uneven hazing that toothpaste’s inconsistent abrasives can cause.
Can I use touch-up paint on plastic bumpers?
Yes, with plastic-adhesion promoter as a base coat — paint doesn’t bond to raw plastic otherwise. Bumper-specific touch-up kits include it. Expect slightly less durability than metal-panel repairs due to bumper flex.